Dump-and-bake cooking has a reputation for being a compromise, a shortcut that trades deep flavor for sheer convenience, but this chicken fried rice shatters that myth entirely. It all started on a Tuesday night when I was staring down a carton of leftover jasmine rice and a single chicken breast, too tired for the wok-shaking theatrics of traditional stir-fry but unwilling to settle for a bland, sad bowl of takeout.
This recipe is my rebellion against the idea that easy meals can’t be extraordinary. By layering the ingredients in a single dish and letting the oven do the heavy lifting, we coax out a nutty, savory depth that rivals any restaurant version, all while keeping your stovetop clean and your sanity intact. You get fluffy rice, tender chicken, and perfectly cooked vegetables, all infused with that iconic umami flavor, without standing over a hot wok for twenty minutes.
The Chicken Fried Rice Difference
- Effortless Texture: Baking the rice in a covered dish allows the grains to steam and absorb the soy-sesame liquid evenly, preventing the dreaded mushy clumps that plague stovetop versions.
- Deep, Layered Flavor: Searing the chicken and aromatics first creates a fond on the bottom of the pan, which then dissolves into the rice as it bakes, infusing every grain with a rich, roasted taste.
- One-Pan Wonder: From the stovetop to the oven, this entire dish comes together in a single baking dish, meaning minimal cleanup and maximum flavor payoff.
The Building Blocks
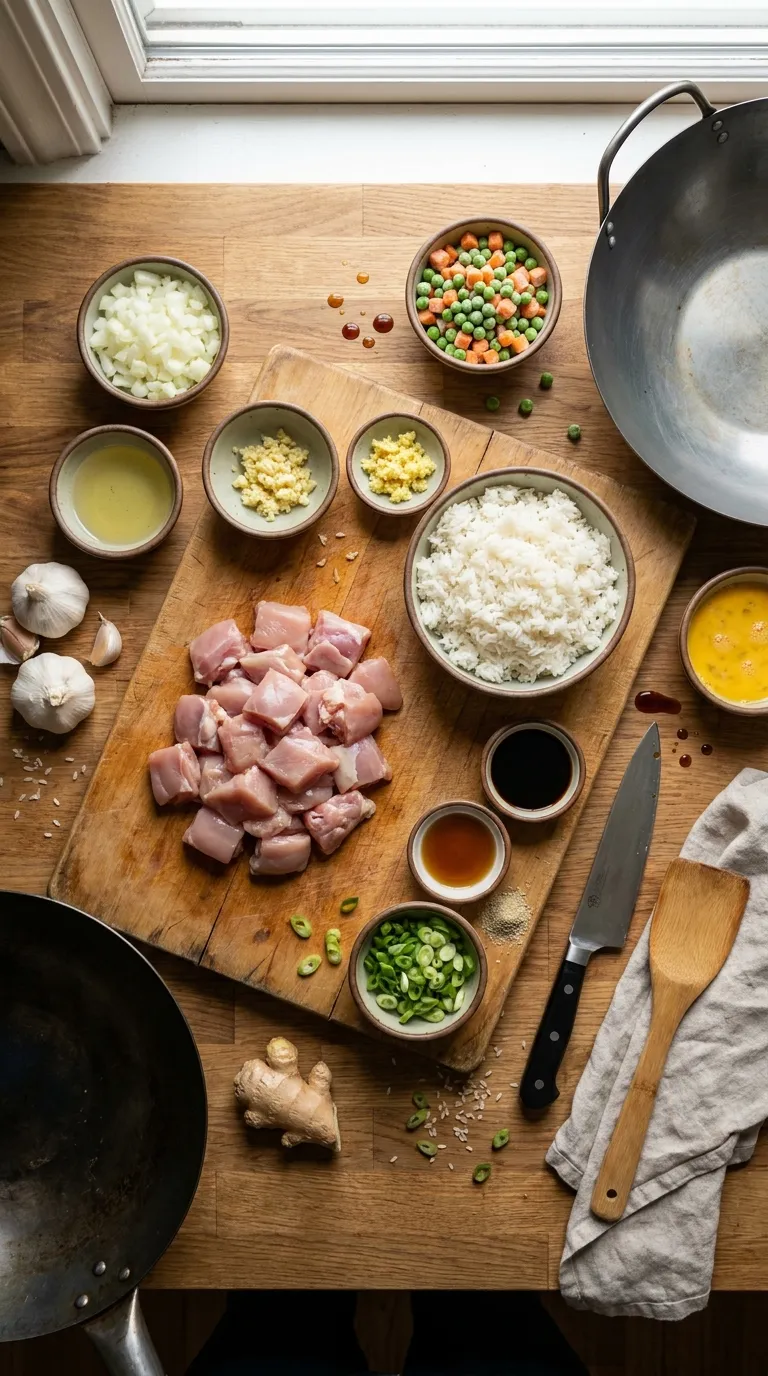
- 1 ½ pounds boneless, skinless chicken thighs (or breasts), cut into 1-inch cubes
- 3 tablespoons vegetable oil, divided
- 1 large yellow onion, diced
- 3 cloves garlic, minced
- 1 tablespoon freshly grated ginger
- 1 cup frozen peas and carrots (no need to thaw)
- 4 cups cooked and cooled jasmine rice (day-old is best for texture)
- 3 large eggs, lightly beaten
- ¼ cup low-sodium soy sauce (for better salt control)
- 1 tablespoon toasted sesame oil (for that nutty finish)
- ½ teaspoon white pepper (or black pepper)
- 3 green onions, sliced, for garnish
Swaps & Alternatives
- Chicken: Swap for boneless pork chops, peeled shrimp, or extra-firm tofu for a vegetarian version.
- Rice: Brown rice works well but will need an extra 10-15 minutes of baking time and a bit more liquid.
- Vegetables: Diced bell peppers, snap peas, or corn kernels are excellent substitutes for the peas and carrots.
- Soy Sauce: Use tamari or coconut aminos for a gluten-free or lower-sodium alternative.
- Eggs: Omit the eggs entirely for a simpler version, or add scrambled tofu for a vegan twist.
Flavor Boosts
Once you master the base recipe, it is incredibly fun to play with. Think of this as your blank canvas for creative family cooking that never gets boring.- Spicy Kick: Add 1-2 teaspoons of sriracha or chili garlic sauce to the soy sauce mixture before pouring it over the rice.
- Nutty Crunch: Toss in ½ cup of toasted cashews or peanuts along with the green onions for a wonderful textural contrast.
- Pineapple Burst: For a sweet-savory twist, fold in 1 cup of drained pineapple chunks before baking. This is a nod to our Pineapple Chicken Stir Fry and the beloved Thai Pineapple Fried Rice With Chicken.
- Herby Finish: Stir in a handful of fresh cilantro or basil right before serving for a bright, fresh pop of flavor.
Let’s Get Cooking
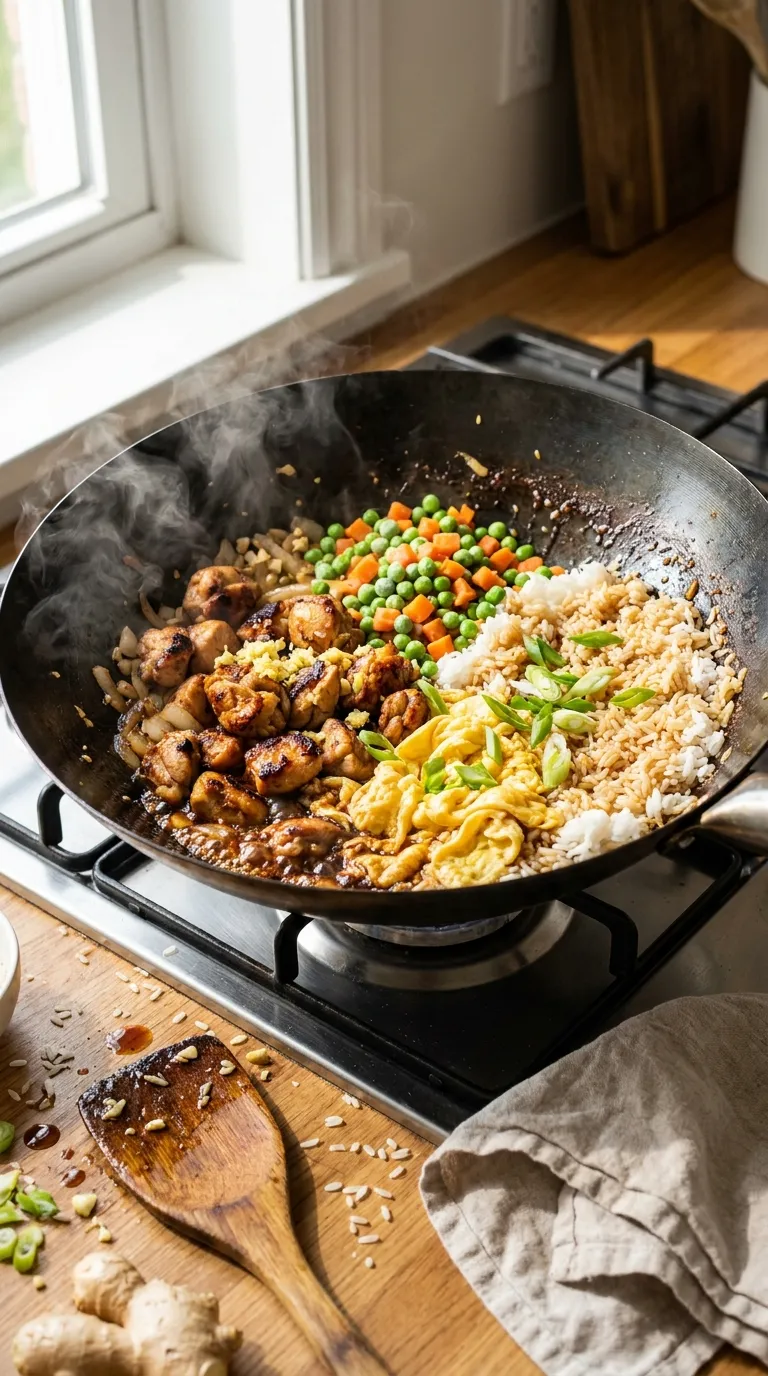
1. Sear the Chicken and Aromatics
Preheat your oven to 375°F (190°C). In a large, oven-safe skillet or Dutch oven, heat 2 tablespoons of vegetable oil over medium-high heat. Add the cubed chicken in a single layer (work in batches if needed) and cook without moving for 3-4 minutes until deeply golden brown. Flip and cook for another 2 minutes. Remove the chicken to a plate.Reduce the heat to medium. Add the remaining 1 tablespoon of oil, then the diced onion. Sauté for 4-5 minutes until softened and translucent. Stir in the garlic and ginger, cooking for just 30 seconds until fragrant.
2. Build the Base
Add the frozen peas and carrots to the skillet and stir for 1 minute. Now, add the cooked, cooled rice directly to the pan. Use a spatula to break up any large clumps of rice and stir everything together until the vegetables are evenly distributed. This step ensures every bite has a little bit of everything.3. Create the Egg Ribbons
Push the rice mixture to the sides of the pan, creating a well in the center. Pour the beaten eggs into the well. Let them sit undisturbed for about 30 seconds, then scramble them vigorously with your spatula until they are just set into soft curds. Fold the eggs into the rice mixture. This technique, borrowed from classic family recipes, ensures the egg stays in distinct, fluffy ribbons rather than disappearing into the rice.4. Assemble and Bake
Return the seared chicken to the skillet, nestling it into the rice. In a small bowl, whisk together the low-sodium soy sauce, toasted sesame oil, and white pepper. Pour this liquid evenly over the entire dish. Give everything a gentle stir to coat. Cover the skillet tightly with a lid or aluminum foil.Transfer the skillet to the preheated oven and bake for 20 minutes. After 20 minutes, remove the lid or foil, stir the rice once, and bake uncovered for an additional 5-10 minutes, until the rice has absorbed all the liquid and the top is slightly golden.
5. Rest and Serve
Remove the skillet from the oven and let it rest, covered, for 5 minutes. This resting period allows the steam to finish tenderizing the rice and makes it easier to serve. Fluff the rice with a fork, sprinkle with sliced green onions, and serve immediately.Secrets to Success
- Don’t Overcrowd the Pan: When searing the chicken, give each piece space. Crowding the pan steams the meat instead of browning it, robbing you of that deep, savory flavor.
- Use Cold Rice: Freshly cooked rice is too moist and will turn into a sticky paste. Day-old rice that has been refrigerated is dry and firm, allowing each grain to stay separate and fluffy during baking.
- Resist the Urge to Stir: Once the dish goes into the oven, leave it covered for the full 20 minutes. Lifting the lid releases steam and extends the cooking time.
Perfect Pairings
This dump-and-bake chicken fried rice is a complete meal on its own, but it plays beautifully with a few simple sides. For a lighter, brighter contrast, serve it alongside a crisp cucumber salad dressed with rice vinegar and chili flakes.If you are planning a larger family dinner, consider adding another side dish. A bowl of Mediterranean Yellow Rice might seem like a rice overload, but its turmeric and cumin notes offer a completely different flavor profile that complements the savory fried rice wonderfully. For a fresh, zesty counterpoint, the Cilantro Lime Rice is a fantastic option.
I also love serving this with a side of steamed edamame sprinkled with sea salt, or a simple bowl of miso soup. And if you are craving even more vegetable goodness, you cannot go wrong with a side of Vegetable Fried Rice With Crispy Garlic for a double-dose of fried rice heaven. For those who love the sweet-savory combo, the Pineapple Fried Rice With Chicken is another fantastic family meal to add to your rotation.
These family dishes are all about bringing people together with minimal stress. This recipe is a cornerstone of my family cooking repertoire because it delivers restaurant-quality results with the warmth of a home-cooked meal.
First time making Chicken Fried Rice? I hope this guide made it easy. Let me know how it turned out!
What is the key to preventing mushy rice in this dump-and-bake chicken fried rice?
Using day-old, cold rice is the most important trick. Freshly cooked rice is too moist and will turn into a sticky paste, while cold rice is dry and firm, allowing each grain to stay separate and fluffy during baking. If you don’t have day-old rice, the article notes there is a workaround, but doesn’t specify it.
How does this recipe achieve deep flavor without constant stovetop stirring?
The recipe builds flavor by first searing the chicken and aromatics in an oven-safe skillet, creating a fond (browned bits) on the bottom of the pan. This fond then dissolves into the rice as it bakes in a covered dish, infusing every grain with a rich, roasted taste. The covered baking also allows the rice to steam evenly, preventing clumps.
Can I make this recipe gluten-free or vegetarian?
Yes. For a gluten-free version, you can substitute the soy sauce with tamari or coconut aminos. For a vegetarian version, swap the chicken for extra-firm tofu. You can also omit the eggs or add scrambled tofu for a vegan twist.
What is the purpose of creating a ‘well’ in the rice mixture for the eggs?
Creating a well in the center of the rice mixture allows you to scramble the eggs separately before folding them into the rice. This technique, borrowed from classic family recipes, ensures the egg stays in distinct, fluffy ribbons rather than disappearing into the rice.
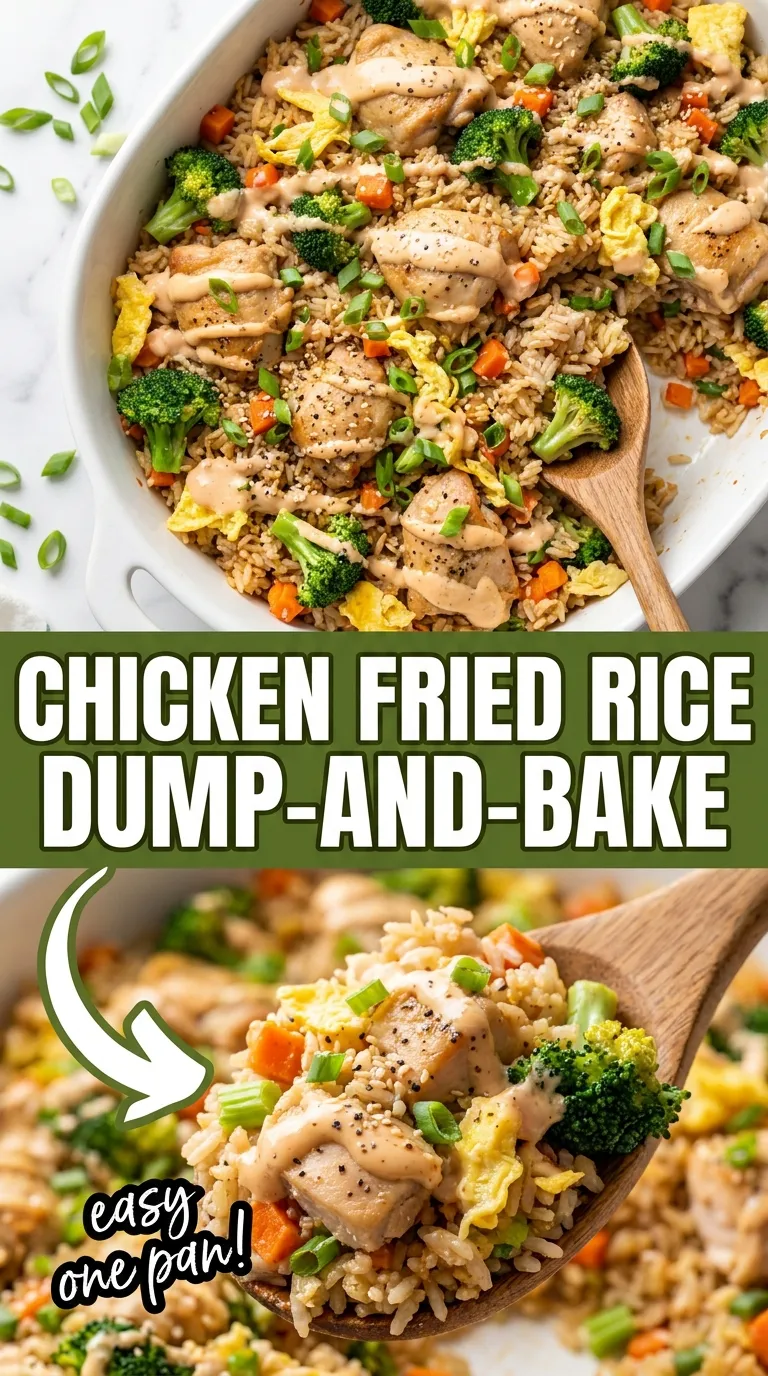

Dump and Bake Chicken Fried Rice

Equipment
- Large oven-safe skillet or Dutch oven with lid
- Cutting board
- Chef’s knife
- Measuring cups and spoons
- Small bowl
- Spatula
- Fork
- Aluminum foil (if lid is not available)
Ingredients
- 1 ½ pounds boneless, skinless chicken thighs or breasts
- 3 tablespoons vegetable oil, divided
- 1 large yellow onion, diced
- 3 cloves garlic, minced
- 1 tablespoon freshly grated ginger
- 1 cup frozen peas and carrots no need to thaw
- 4 cups cooked and cooled jasmine rice day-old is best
- 3 large eggs, lightly beaten
- ¼ cup low-sodium soy sauce
- 1 tablespoon toasted sesame oil
- ½ teaspoon white pepper or black pepper
- 3 green onions, sliced, for garnish
Instructions
- Preheat your oven to 375°F (190°C).
- In a large, oven-safe skillet or Dutch oven, heat 2 tablespoons of vegetable oil over medium-high heat. Add the cubed chicken in a single layer (work in batches if needed) and cook without moving for 3-4 minutes until deeply golden brown. Flip and cook for another 2 minutes. Remove the chicken to a plate.
- Reduce the heat to medium. Add the remaining 1 tablespoon of oil, then the diced onion. Sauté for 4-5 minutes until softened and translucent. Stir in the garlic and ginger, cooking for just 30 seconds until fragrant.
- Add the frozen peas and carrots to the skillet and stir for 1 minute. Add the cooked, cooled rice directly to the pan. Use a spatula to break up any large clumps of rice and stir everything together until the vegetables are evenly distributed.
- Push the rice mixture to the sides of the pan, creating a well in the center. Pour the beaten eggs into the well. Let them sit undisturbed for about 30 seconds, then scramble them vigorously with your spatula until they are just set into soft curds. Fold the eggs into the rice mixture.
- Return the seared chicken to the skillet, nestling it into the rice. In a small bowl, whisk together the low-sodium soy sauce, toasted sesame oil, and white pepper. Pour this liquid evenly over the entire dish. Give everything a gentle stir to coat.
- Cover the skillet tightly with a lid or aluminum foil. Transfer the skillet to the preheated oven and bake for 20 minutes.
- After 20 minutes, remove the lid or foil, stir the rice once, and bake uncovered for an additional 5-10 minutes, until the rice has absorbed all the liquid and the top is slightly golden.
- Remove the skillet from the oven and let it rest, covered, for 5 minutes. Fluff the rice with a fork, sprinkle with sliced green onions, and serve immediately.