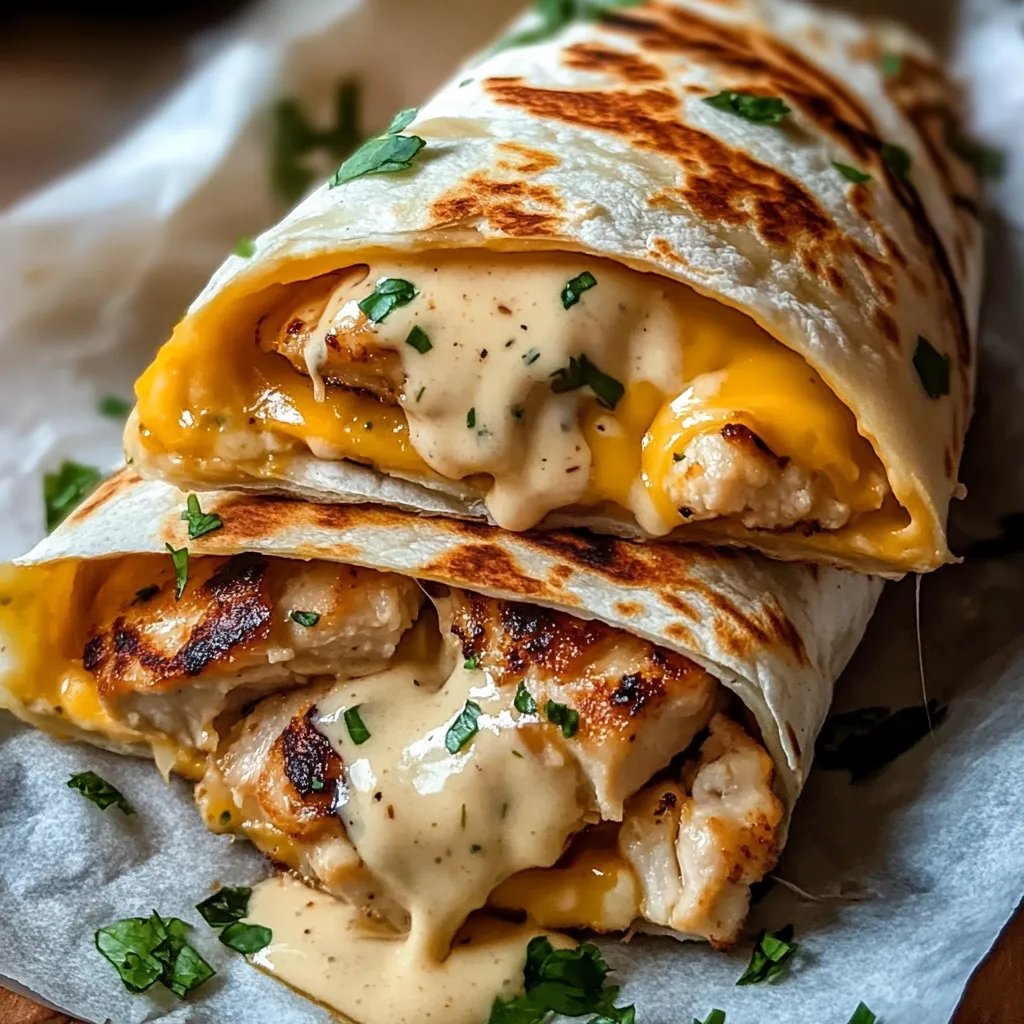
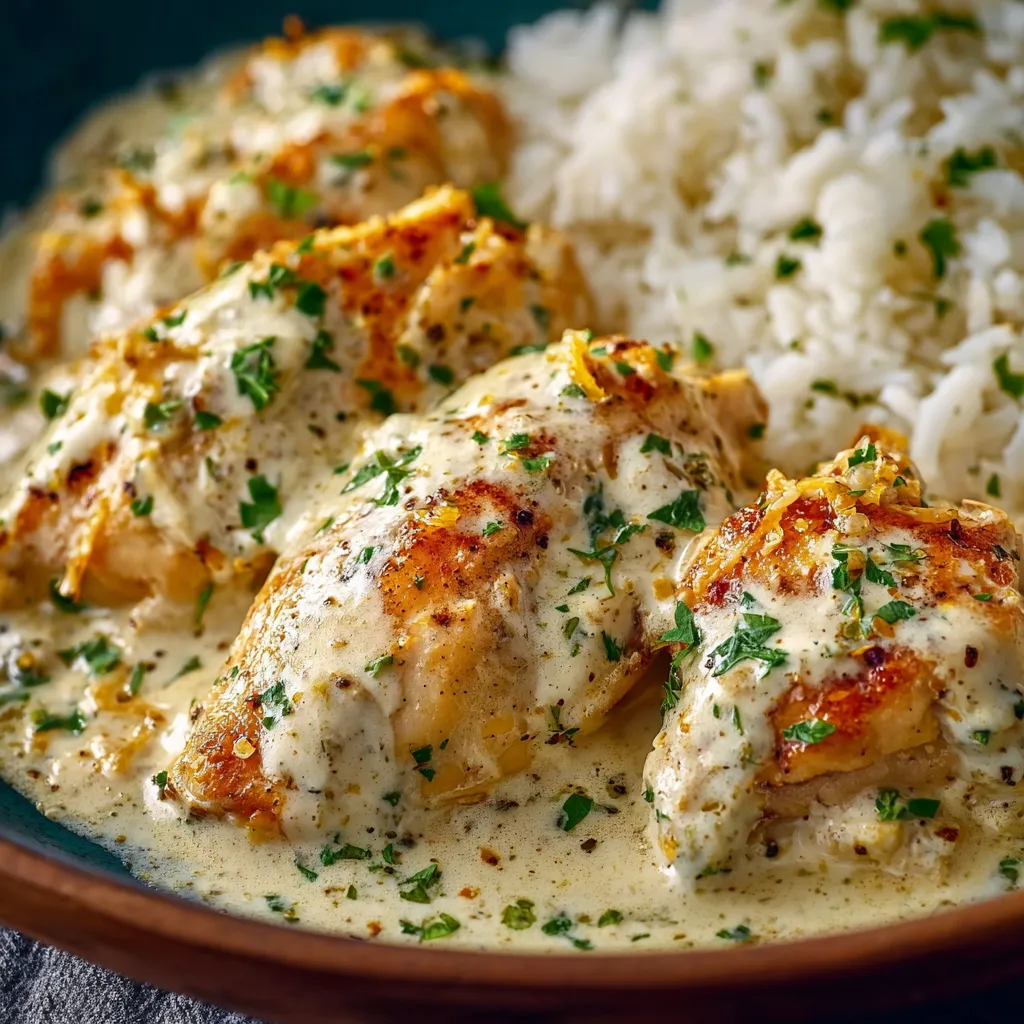
Alright, gather ’round, my friends! I can vividly remember the first time I ever tasted a wrap – it was a simple chicken Caesar, and it absolutely changed my lunch game forever! But these aren’t just any wraps, oh no! These Cheesy Garlic Chicken Wraps are a flavor explosion wrapped in a warm tortilla, and they’ve become a staple at my house, especially on those busy weeknights. Today, I’m sharing all my secrets to making the most unbelievably delicious Cheesy Garlic Chicken Wraps you and your family will ever devour!
Why You’ll Absolutely ADORE These Cheesy Garlic Chicken Wraps
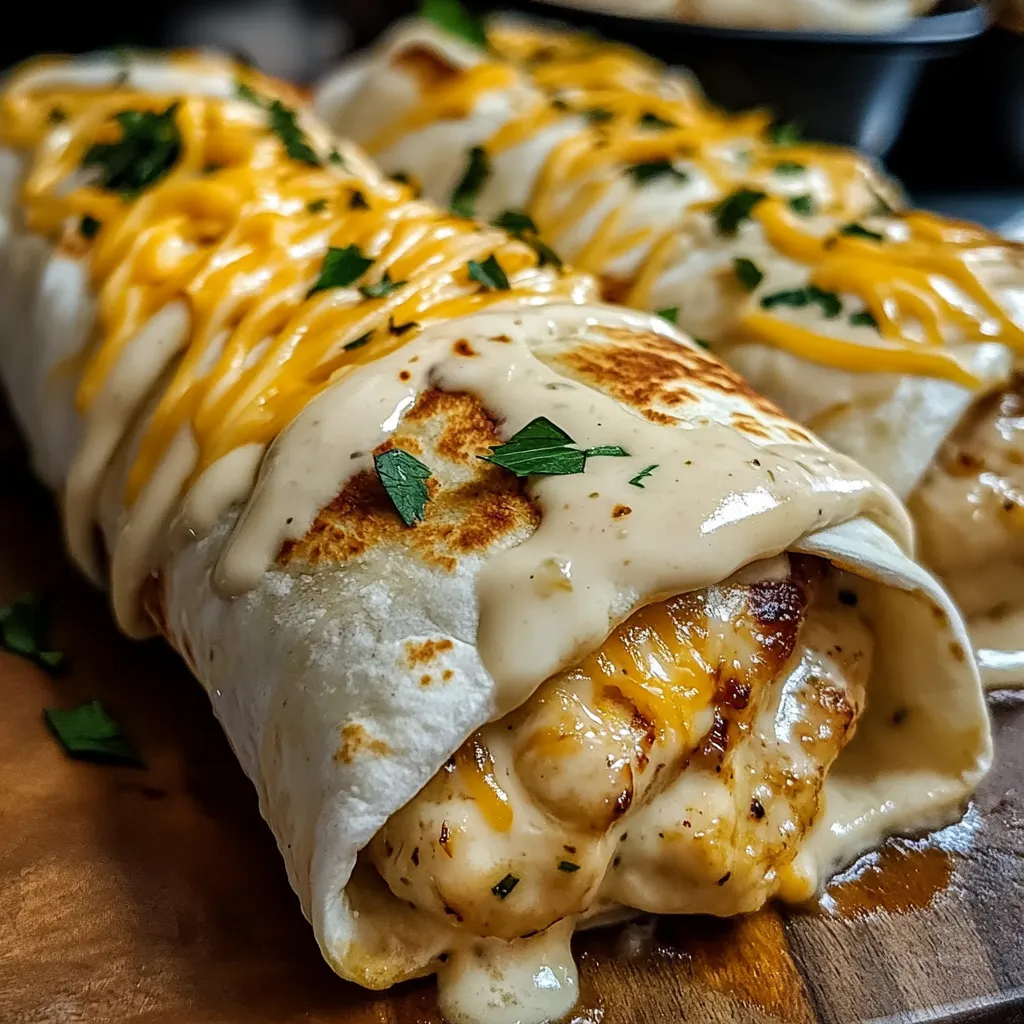
Seriously, folks, this recipe isn’t just about throwing some ingredients together. It’s about creating an experience. It’s about that first bite, the burst of savory garlic, the tender chicken, and the gooey, melty cheese. It’s pure comfort food magic! Here’s why these wraps are about to become your new go-to meal:
- Quick & Easy: We’re talking weeknight dinner hero material here. Minimal prep, maximum flavor, ready in under 30 minutes.
- Customizable: Don’t like onions? Leave them out! Want more spice? Add some chili flakes! This recipe is a blank canvas for your culinary creativity.
- Kid-Friendly: My kids go absolutely crazy for these! They’re easy to hold, fun to eat, and packed with flavor that even picky eaters will love.
- Budget-Friendly: Chicken and tortillas are staples, and with a few pantry ingredients, you can whip up a satisfying and affordable meal.
- Perfect for Leftovers: Make a big batch and enjoy these wraps for lunch the next day. They taste just as amazing, if not better!
The Star Ingredients for Our Cheesy Garlic Chicken Wraps
Let’s talk ingredients, shall we? We’re going for maximum flavor with minimal fuss. Here’s what you’ll need:
- Chicken Breasts: Boneless, skinless chicken breasts are the foundation. You can also use chicken thighs if you prefer a richer flavor.
- Garlic: Fresh garlic is non-negotiable! We’re going to use plenty of it to infuse the chicken with that irresistible garlicky goodness.
- Cheese: A blend of mozzarella and cheddar is my go-to for that perfect melty, cheesy pull. Feel free to experiment with other cheeses like Monterey Jack or pepper jack for a kick.
- Tortillas: Use your favorite tortillas! Flour tortillas are classic, but whole wheat or even gluten-free options work great too.
- Onion: Adds a subtle sweetness and depth of flavor. I like using yellow onion, but white or red onion will also work.
- Butter: Because everything is better with butter! It adds richness and helps to brown the chicken beautifully.
- Olive Oil: Used to sauté the onions and garlic, adding another layer of flavor.
- Spices: We’re keeping it simple with salt, pepper, garlic powder (yes, more garlic!), and a pinch of red pepper flakes for a little heat.
- Optional Toppings: Get creative! Shredded lettuce, diced tomatoes, sour cream, salsa, avocado – the possibilities are endless!
Let’s Get Cooking: Step-by-Step Instructions
Alright, my friends, are you ready to make some magic happen? Here’s how we’re going to create these Cheesy Garlic Chicken Wrap masterpieces:
- Prepare the Chicken: Cut the chicken breasts into bite-sized pieces. This will help them cook quickly and evenly.
- Sauté the Onions and Garlic: In a large skillet, melt the butter with the olive oil over medium heat. Add the diced onion and cook until softened, about 5 minutes. Then, add the minced garlic and cook for another minute until fragrant. Your kitchen should be smelling absolutely divine right about now!
- Cook the Chicken: Add the chicken pieces to the skillet and season with salt, pepper, garlic powder, and red pepper flakes. Cook until the chicken is cooked through and no longer pink, about 7-10 minutes. Make sure to stir occasionally to ensure even cooking.
- Melt the Cheese: Reduce the heat to low and sprinkle the shredded mozzarella and cheddar cheese over the chicken. Cover the skillet and let the cheese melt completely, about 2-3 minutes. Oh my goodness, the sight of that melting cheese is simply irresistible!
- Warm the Tortillas: While the cheese is melting, warm the tortillas in a dry skillet or microwave for a few seconds until pliable. This will prevent them from tearing when you fold them.
- Assemble the Wraps: Spoon the cheesy garlic chicken mixture onto each tortilla.
- Add Your Favorite Toppings: Now’s the time to get creative! Add shredded lettuce, diced tomatoes, sour cream, salsa, avocado, or any other toppings that your heart desires.
- Fold and Serve: Fold the sides of the tortilla inwards, then roll it up tightly. Serve immediately and enjoy every single bite!
Success Tips for Cheesy Garlic Chicken Wrap Perfection
Want to guarantee Cheesy Garlic Chicken Wrap glory? Follow these golden tips, and you’ll be a wrap-making pro in no time!
- Don’t Overcook the Chicken: Overcooked chicken will be dry and tough. Cook it just until it’s cooked through and no longer pink. A meat thermometer is your best friend here! Aim for an internal temperature of 165°F (74°C).
- Use Fresh Garlic: Trust me on this one. Fresh garlic makes a world of difference in terms of flavor. Garlic powder is a good backup, but fresh is always best.
- Warm Your Tortillas: This is crucial for preventing the tortillas from tearing when you fold them. A few seconds in a dry skillet or microwave will do the trick.
- Don’t Overfill the Wraps: Too much filling will make the wraps difficult to fold and eat. Less is more!
- Get Creative with Toppings: The toppings are where you can really customize these wraps to your liking. Don’t be afraid to experiment with different flavors and textures.
Variations to Make it Your Own
This recipe is fantastic as is, but sometimes it’s fun to mix things up! Here are a few variations to keep things interesting:
- Spicy Chicken Wraps: Add a pinch of cayenne pepper or a drizzle of hot sauce to the chicken for a fiery kick.
- BBQ Chicken Wraps: Use BBQ sauce instead of garlic powder to flavor the chicken. Add some coleslaw for a classic BBQ flavor combination.
- Ranch Chicken Wraps: Mix ranch dressing with the chicken and cheese for a creamy and flavorful twist.
- Veggie-Loaded Wraps: Add chopped bell peppers, mushrooms, or spinach to the chicken mixture for extra nutrients and flavor.
- Mediterranean Wraps: Add crumbled feta cheese, chopped olives, and a squeeze of lemon juice to the chicken for a taste of the Mediterranean.
Serving Suggestions for a Complete Meal
While these Cheesy Garlic Chicken Wraps are delicious on their own, here are a few ideas to round out your meal:
- Side Salad: A simple green salad with a vinaigrette dressing is a refreshing complement to the savory wraps.
- Sweet Potato Fries: Crispy sweet potato fries are a satisfying and flavorful side dish.
- Corn on the Cob: Grilled or boiled corn on the cob is a classic summer side that pairs perfectly with chicken.
- Guacamole and Chips: Serve the wraps with a side of guacamole and tortilla chips for a festive and flavorful meal.
- Fruit Salad: A refreshing fruit salad is a light and healthy way to end your meal.
Make-Ahead & Storage Instructions
Want to get ahead of the game? Here’s how to prepare these wraps in advance and store any leftovers:
- Make-Ahead: You can cook the chicken mixture up to 2 days in advance and store it in the refrigerator. Simply reheat it in a skillet before assembling the wraps.
- Storage: Leftover wraps can be stored in the refrigerator for up to 3 days. Reheat them in a skillet or microwave until warmed through.
- Freezing: While you *can* freeze these, I don’t recommend it, as the texture of the tortillas can change. However, if you’re determined, wrap each wrap tightly in plastic wrap and then foil. Freeze for up to 2 months. Thaw completely in the refrigerator before reheating.
Craving More Chicken Inspiration?
If you’re anything like me, you can never have too many delicious chicken recipes in your arsenal! Here are a few of my absolute favorites:
- For a comforting and hearty meal, you absolutely must try my SMOTHERED CHICKEN RECIPE. It’s a guaranteed crowd-pleaser!
- Looking for a fun and flavorful appetizer or snack? These BUFFALO CHICKEN PINWHEELS are always a hit! They’re perfect for game day or any gathering.
- For a sweet and savory sensation, you can’t beat my HONEY GARLIC CHICKEN PERFECTION. The glaze is absolutely irresistible!
- If you’re after an easy weeknight dinner that’s packed with flavor, check out my Parmesan Chicken with Garlic Sauce. It’s quick, simple, and incredibly satisfying.
- And for a fun party or a casual get-together, the CHICKEN SLIDERS are always the right call!
- Need a simple dump-and-forget dinner? then you can try this Garlic Parmesan Chicken & Potatoes. It’s a truly magical combination
Final Thoughts: Your Cheesy Garlic Chicken Wrap Adventure Awaits!
And there you have it, my friends! Everything you need to create the most amazing Cheesy Garlic Chicken Wraps imaginable. Don’t be intimidated by the steps – trust me, it’s easier than you think. So, grab your ingredients, put on some music, and get ready to have some fun in the kitchen. I promise you, the end result will be well worth the effort. Happy wrapping!
Can I customize the Cheesy Garlic Chicken Wraps?
Yes! The recipe is very customizable. You can leave out ingredients you don’t like, add spices for more heat, or experiment with different cheeses and toppings to create your perfect wrap.
What kind of tortillas are best for these wraps?
You can use your favorite tortillas. Flour tortillas are classic, but whole wheat or even gluten-free options work great too.
How can I prevent the tortillas from tearing when folding the wraps?
Warm the tortillas in a dry skillet or microwave for a few seconds until they are pliable. This will prevent them from tearing when you fold them.
How long can I store leftover Cheesy Garlic Chicken Wraps?
Leftover wraps can be stored in the refrigerator for up to 3 days. You can reheat them in a skillet or microwave until warmed through. Freezing is not recommended due to texture changes in the tortillas.
Cheesy Garlic Chicken Wraps
Equipment
- Large skillet
- Spatula
- Cutting board
- Knife
- Measuring spoons
- Measuring cups
- Dry skillet or microwave
- Serving plates
Ingredients
- 1 pound boneless, skinless chicken breasts, cut into bite-sized pieces
- 2 tablespoons butter
- 1 tablespoon olive oil
- 1 yellow onion, diced
- 4 cloves garlic, minced
- 1 teaspoon salt
- ½ teaspoon black pepper
- 1 teaspoon garlic powder
- ¼ teaspoon red pepper flakes
- 1 cup shredded mozzarella cheese
- 1 cup shredded cheddar cheese
- 4 large flour tortillas
- Optional toppings: shredded lettuce, diced tomatoes, sour cream, salsa, avocado
Instructions
- Cut the chicken breasts into bite-sized pieces.
- In a large skillet, melt the butter with the olive oil over medium heat.
- Add the diced onion and cook until softened, about 5 minutes.
- Add the minced garlic and cook for another minute until fragrant.
- Add the chicken pieces to the skillet and season with salt, pepper, garlic powder, and red pepper flakes.
- Cook until the chicken is cooked through and no longer pink, about 7-10 minutes, stirring occasionally.
- Reduce the heat to low and sprinkle the shredded mozzarella and cheddar cheese over the chicken.
- Cover the skillet and let the cheese melt completely, about 2-3 minutes.
- While the cheese is melting, warm the tortillas in a dry skillet or microwave for a few seconds until pliable.
- Spoon the cheesy garlic chicken mixture onto each tortilla.
- Add your favorite toppings: shredded lettuce, diced tomatoes, sour cream, salsa, avocado, or any other toppings you desire.
- Fold the sides of the tortilla inwards, then roll it up tightly.
- Serve immediately and enjoy!
