Introduction
When I first heard about Root Beer Float Pie, I thought it sounded like something straight out of a 1950s soda shop. And honestly? That’s exactly what it tastes like — creamy, bubbly nostalgia with every bite.
This recipe started one summer evening when I ran out of ice cream for actual root beer floats. Desperation (and a craving for something sweet) led me to combine a can of root beer, whipped topping, and a graham cracker crust. What came out of my freezer a few hours later was magic — frosty, foamy, and so good I had to recreate it properly.
Now, this easy Root Beer Float Pie has gone viral for a reason. It’s quick, quirky, and perfect for cookouts or weeknight desserts when you just want something fun without the fuss.
What Makes This Recipe Special
- That nostalgic flavor: It’s everything you love about a frothy root beer float — but in sliceable form.
- Ridiculously easy: No baking, no fancy tools, no stress.
- Versatile and creative: Swap sodas, toppings, or even crusts for fun variations.
- Totally trendy: It’s blowing up on TikTok and Pinterest for a reason — it’s the ultimate throwback dessert!
Ingredients You’ll Need
For the Crust
- 1¼ cups graham cracker crumbs
- 3 tbsp unsalted butter, melted
- 1 tbsp granulated sugar
For the Filling
- ¾ cup chilled root beer
- ½ cup cold whole or 2% milk
- 1 package (3.4 oz) instant vanilla pudding mix
- 1 cup whipped topping (like Cool Whip), thawed
- Optional: 1 tsp root beer extract (for stronger flavor)
For Topping
- Extra whipped topping
- Maraschino cherries
- Crushed graham crackers or mini root beer candies
Tools You’ll Need
- Mixing bowls
- Electric mixer or whisk
- Measuring cups and spoons
- Rubber spatula
- 9-inch pie dish
- Freezer-safe storage wrap
How to Make Root Beer Float Pie
- Mix the crust: Combine graham cracker crumbs, melted butter, and sugar. Stir until it resembles wet sand. Press firmly into your pie dish and chill while making the filling.
- Whisk the filling: In a large bowl, whisk together the milk, root beer, and pudding mix for about two minutes until it thickens slightly.
- Fold in whipped topping: Gently fold in the whipped topping until the mixture is creamy and airy.
- Pour and smooth: Spoon the filling into the chilled crust, spreading evenly with a spatula.
- Freeze: Cover and freeze for at least 6 hours (or overnight) until firm.
- Serve it up: Slice, top with whipped cream, a cherry, and a little smile — you’ve just made dessert history.
Quick Ingredient Swap Table
| Ingredient | Substitute | Note |
|---|---|---|
| Root Beer | Cream soda or cola | For a different twist |
| Whole Milk | Oat milk or 2% | Keeps it creamy |
| Graham Crust | Chocolate cookie crust | Adds depth and nostalgia |
| Whipped Topping | Homemade whipped cream | Fresh, less sweet option |
What to Serve With Root Beer Float Pie
Pair it with a scoop of vanilla ice cream (for double float fun), a drizzle of chocolate syrup, or a cold mug of root beer for the full retro effect.
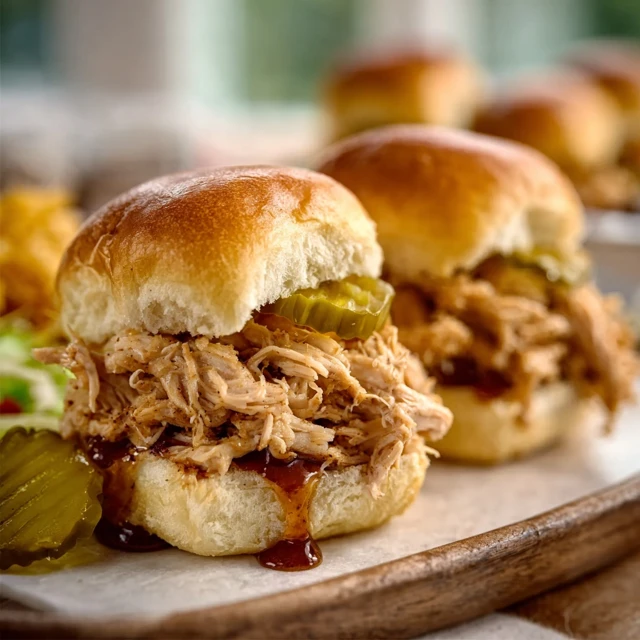
If you’re planning a backyard BBQ, it pairs beautifully after something smoky like our Easy Grilled BBQ Chicken Bowls. And if you’re hosting brunch, serve it alongside Creamy No-Bake Lemon Pie for a sweet duo that’ll wow guests.
Tips for Perfect Results
- Chill your ingredients: Cold milk and root beer help your pudding set perfectly.
- Don’t rush the freeze: The longer it chills, the smoother the texture.
- Add root beer extract: For that strong soda-shop punch — totally optional but worth it!
Storage Instructions
Wrap leftover pie tightly with plastic wrap or aluminum foil. Store in the freezer for up to 1 week. To serve again, let it sit at room temperature for 10 minutes before slicing.
FAQ Section
1. Can I make Root Beer Float Pie without Cool Whip?
Yes! You can use homemade whipped cream — just whip heavy cream with a bit of powdered sugar until stiff peaks form.
2. What kind of root beer works best?
Classic brands like A&W or Mug work great. Avoid diet sodas; the sweetener can alter the texture.
3. How long does Root Beer Float Pie last?
It keeps in the freezer for up to 7 days, but honestly, it rarely lasts that long!
4. Can I make it dairy-free?
Absolutely. Try almond or oat milk and coconut whipped topping.
5. Can I use a store-bought crust?
Totally. It makes prep even faster, and nobody will notice the difference.
6. Why isn’t my pie setting properly?
It probably needs more chill time. If it’s still soft, just refreeze for another hour.
Conclusion
There’s something so joyful about a dessert that feels both nostalgic and fresh. This Root Beer Float Pie is exactly that — cool, creamy, and full of old-fashioned fun. It’s the kind of dessert that sparks conversation, makes people smile, and disappears faster than you can say “save me a slice!”
Try it for your next summer get-together, and don’t forget to share your creation on TikTok or Instagram. Tag #easymealstoprep — I love seeing your spins on these viral treats.
If you’re into no-bake desserts, check out Easy Peanut Butter Pie, Mini Key Lime Cheesecakes, or my favorite Strawberry Cheesecake Bites.

Root Beer Float Pie: The Easy, Retro Dessert Everyone’s Talking About
Equipment
- Mixing Bowls
- Electric mixer or whisk
- Measuring cups and spoons
- Rubber spatula
- 9-inch Pie Dish
- Freezer-safe storage wrap
Ingredients
- 1.25 cups graham cracker crumbs
- 3 tbsp unsalted butter, melted
- 1 tbsp granulated sugar
- 0.75 cup chilled root beer
- 0.5 cup cold whole or 2% milk
- 1 package instant vanilla pudding mix (3.4 oz)
- 1 cup whipped topping (like Cool Whip), thawed
- 1 tsp root beer extract (optional)
- 1 cup extra whipped topping (for garnish)
- 6 maraschino cherries
- 2 tbsp crushed graham crackers or mini root beer candies
Instructions
- Combine graham cracker crumbs, melted butter, and sugar. Stir until it resembles wet sand. Press firmly into your pie dish and chill while making the filling.
- In a large bowl, whisk together the milk, root beer, and pudding mix for about two minutes until it thickens slightly.
- Gently fold in the whipped topping until the mixture is creamy and airy.
- Spoon the filling into the chilled crust, spreading evenly with a spatula.
- Cover and freeze for at least 6 hours (or overnight) until firm.
- Slice, top with whipped cream, a cherry, and a little smile — you’ve just made dessert history.


")