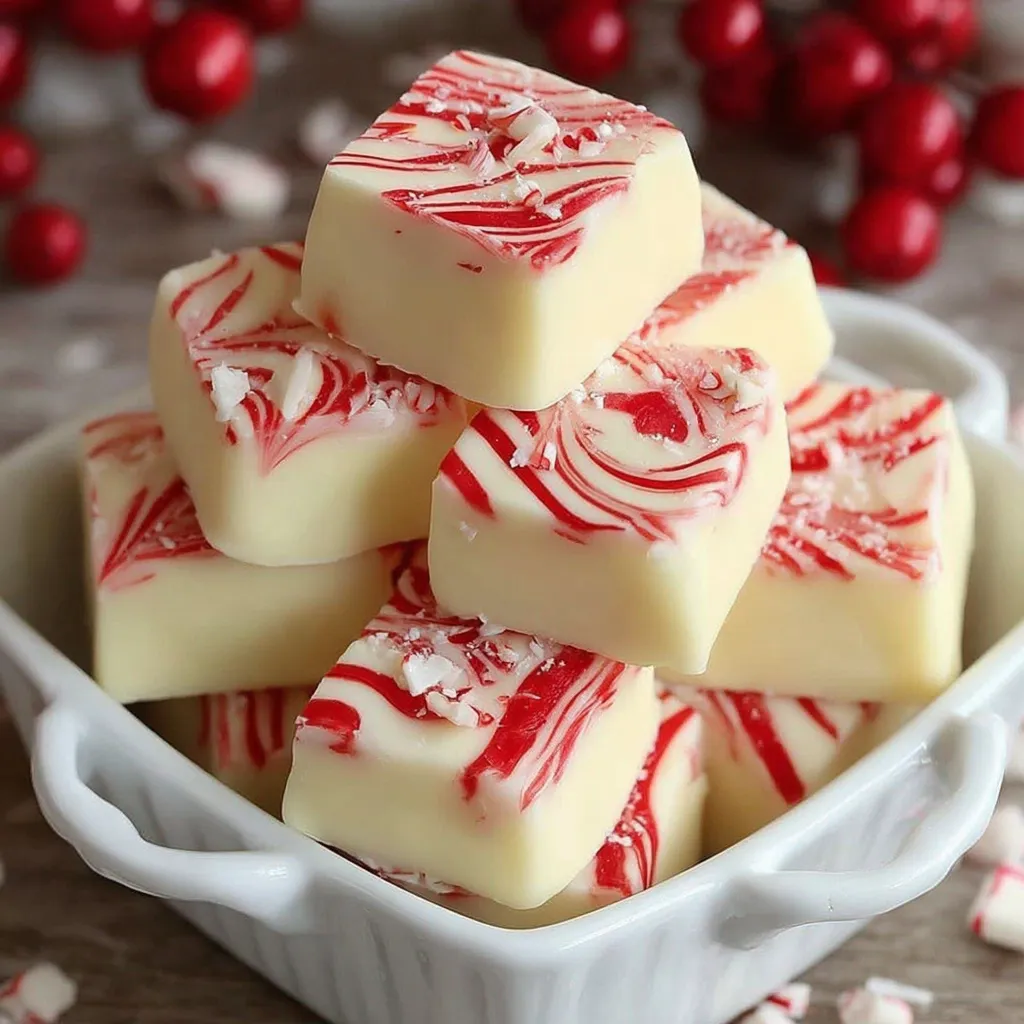
Is there anything that screams “Christmas” quite like the cool, refreshing burst of peppermint? But let’s be honest, hard peppermint candies can be a bit… much. This year, let’s ditch the jawbreakers and embrace a truly delightful holiday treat: Soft Christmas Peppermints- Melt In Your Mouth! Imagine biting into a pillow of pepperminty goodness that dissolves on your tongue, leaving behind a delightful warmth. Get ready, because you’re about to become a peppermint pro!
Gathering Your Peppermint Perfection Ingredients

Before we dive in, let’s make sure we have all of our ingredients prepped and ready to go. This is key to a smooth and stress-free candy-making experience. Trust me, you’ll thank me later!
For the Soft Peppermints:
- Powdered Sugar: 4 cups (also known as confectioners’ sugar)
- Shortening: 1/2 cup, vegetable shortening
- Light Corn Syrup: 1/4 cup
- Peppermint Extract: 1 teaspoon (use a good quality extract for the best flavor!)
- Milk or Heavy Cream: 2-3 tablespoons (start with 2 and add more if needed)
- Red Food Coloring: A few drops, gel or liquid (adjust to your desired shade of pink/red)
Step-by-Step to Peppermint Cloud Nine
Okay, here comes the fun part! Don’t worry, even if you’ve never made candy before, I’ll guide you through every step. Read through the instructions carefully before you start, and let’s get baking!
Mixing the Peppermint Magic:
- Prepare Your Workspace: Line a baking sheet with parchment paper. This will prevent sticking and make clean-up a breeze.
- Combine Ingredients: In a large bowl, combine the powdered sugar and shortening. Use a sturdy spoon or a stand mixer with the paddle attachment to cream the mixture together. It will be crumbly at first, but keep going!
- Add the Wet Ingredients: Gradually add the light corn syrup, peppermint extract, and 2 tablespoons of milk or heavy cream. Mix until a soft dough begins to form. If the dough is too dry, add the remaining tablespoon of milk or cream, a little at a time, until it comes together.
- Coloring Time: Divide the dough in half. Add red food coloring to one half and mix until evenly colored. Leave the other half white. You can also get creative and make different colors if you’re feeling adventurous!
- Kneading the Dough: Lightly dust a clean surface with powdered sugar. Knead each half of the dough separately for a few minutes until smooth and pliable. This will help distribute the color and ingredients evenly.
Shaping Your Peppermint Dreams:
- Rolling the Dough: Roll each piece of dough (red and white) into a log about 1 inch in diameter.
- Creating Peppermint Swirls (Optional): For swirled peppermints, twist the two logs together gently, creating a candy cane effect. If you prefer solid colors, skip this step.
- Slicing the Peppermints: Using a sharp knife, slice the logs into 1/4-inch thick rounds.
- Arranging on the Baking Sheet: Place the peppermint slices on the prepared baking sheet, leaving a little space between each one.
Setting and Storing:
- Setting Time: Let the peppermints sit at room temperature for several hours, or preferably overnight, to allow them to firm up. This is crucial for that perfect “melt-in-your-mouth” texture.
- Storing Your Treasures: Once the peppermints are firm, store them in an airtight container at room temperature. They should last for up to a week, but I doubt they’ll stick around that long!
The Secret Ingredient: Quality & Patience
Okay, I’m going to let you in on a little secret. The best Soft Christmas Peppermints- Melt In Your Mouth aren’t just about the recipe; they’re about the quality of your ingredients and, even more importantly, your patience. Don’t skimp on the peppermint extract! A good quality extract will make all the difference. And don’t rush the setting time! Let those peppermints sit and develop their melt-in-your-mouth texture.
Troubleshooting Your Peppermint Paradise
Candy making can sometimes be a little tricky, so I want to address some common issues you might encounter and how to fix them. I’ve been there, trust me!
Dough Too Dry:
If your dough is too dry and crumbly, add milk or heavy cream, a teaspoon at a time, until it comes together. Be careful not to add too much, or the dough will be sticky.
Dough Too Sticky:
If your dough is too sticky, add a little more powdered sugar, a tablespoon at a time, until it’s easier to handle.
Peppermints Too Hard:
If your peppermints are too hard, it could be that you added too much powdered sugar or didn’t use enough shortening. Next time, adjust the ratios slightly. Also, make sure you aren’t storing them in a place that’s drying them out.
Peppermint Flavor Not Strong Enough:
If you want a stronger peppermint flavor, add a few extra drops of peppermint extract. Taste the dough before you slice it and adjust as needed.
Variations to Spice Up Your Peppermint Life
Once you’ve mastered the basic recipe, the possibilities are endless! Here are a few ideas to get your creative juices flowing.
Chocolate Peppermints:
Add 1/4 cup of unsweetened cocoa powder to one half of the dough for a chocolate peppermint twist. You could even dip the finished peppermints in melted chocolate!
Other Extracts:
Experiment with other extracts like vanilla, almond, or even lemon. Just be sure to adjust the food coloring accordingly.
Sprinkles and Toppings:
Before the peppermints set, sprinkle them with crushed candy canes, edible glitter, or chopped nuts.
Pairing Your Peppermint Masterpiece
These Soft Christmas Peppermints- Melt In Your Mouth are delicious on their own, but they also pair beautifully with other holiday treats. Imagine serving them alongside a batch of PECAN PIE THUMBPRINT cookies or a rich PEANUT BUTTER FUDGE. The cool peppermint is the perfect complement to the warm, nutty flavors of the cookies and fudge.
More Holiday Inspiration
While you’re in the kitchen, why not try your hand at other festive recipes? If you’re looking for a savory appetizer, CRANBERRY JALAPENO DIP is always a crowd-pleaser. Or perhaps you’re in need of a delicious side dish to complete your holiday meal. Both CRANBERRY SAUCE and CRANBERRY SAUCE are guaranteed to be a hit! And don’t forget there is the CRANBERRY JALAPEÑO DIP too.
Enjoy the Sweet Success!
And there you have it! You’ve successfully created your own batch of Soft Christmas Peppermints- Melt In Your Mouth. I hope you enjoy making and sharing these delightful treats with your loved ones this holiday season. Remember, baking is all about having fun and creating memories. So, put on some Christmas music, grab your apron, and get ready to spread some peppermint cheer!
What is the key to achieving the ‘melt-in-your-mouth’ texture for these peppermints?
The key is using quality ingredients, especially peppermint extract, and allowing the peppermints to sit at room temperature for several hours or overnight to firm up properly.
What can I do if my peppermint dough is too dry?
If your dough is too dry and crumbly, add milk or heavy cream, a teaspoon at a time, until it comes together. Be careful not to add too much.
Can I add other flavors to these peppermints besides peppermint?
Yes! You can experiment with other extracts like vanilla, almond, or lemon. Remember to adjust the food coloring accordingly to match the flavor.
How should I store the soft peppermints?
Once the peppermints are firm, store them in an airtight container at room temperature. They should last for up to a week.
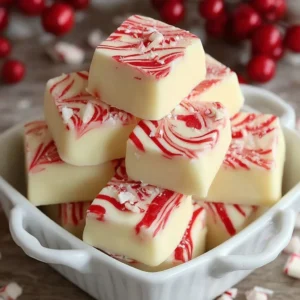
Melt-In-Your-Mouth Soft Christmas Peppermints
Equipment
- Baking Sheet
- Parchment paper
- Large bowl
- Sturdy spoon or stand mixer with paddle attachment
- Measuring cups and spoons
- Clean surface
- sharp knife
- Airtight container
Ingredients
- 4 cups powdered sugar confectioners’ sugar
- ½ cup vegetable shortening
- ¼ cup light corn syrup
- 1 teaspoon peppermint extract
- 2-3 tablespoons milk or heavy cream
- Red food coloring gel or liquid
- Powdered sugar, for dusting
Instructions
- Line a baking sheet with parchment paper.
- In a large bowl, combine the powdered sugar and shortening. Use a sturdy spoon or a stand mixer with the paddle attachment to cream the mixture together until crumbly.
- Gradually add the light corn syrup, peppermint extract, and 2 tablespoons of milk or heavy cream. Mix until a soft dough begins to form. If the dough is too dry, add the remaining tablespoon of milk or cream, a little at a time, until it comes together.
- Divide the dough in half.
- Add red food coloring to one half and mix until evenly colored. Leave the other half white.
- Lightly dust a clean surface with powdered sugar.
- Knead each half of the dough separately for a few minutes until smooth and pliable.
- Roll each piece of dough (red and white) into a log about 1 inch in diameter.
- For swirled peppermints, twist the two logs together gently, creating a candy cane effect. If you prefer solid colors, skip this step.
- Using a sharp knife, slice the logs into 1/4-inch thick rounds.
- Place the peppermint slices on the prepared baking sheet, leaving a little space between each one.
- Let the peppermints sit at room temperature for several hours, or preferably overnight, to allow them to firm up.
