
Ingredients You’ll Need
For Grandma’s iron-skillet fried chicken, you’ll need:
Chicken & Marinade
- 1 whole chicken, cut into pieces
- 2 cups buttermilk
Seasoned Coating
- 2 cups all-purpose flour
- 1 teaspoon paprika
- 1 teaspoon garlic powder
- 1 teaspoon onion powder
- 1 teaspoon salt
- 1 teaspoon black pepper
- 1 teaspoon baking powder
For Frying
- Oil for frying (lard or vegetable oil work beautifully)
Tools You’ll Need
You don’t need much, but these make the process smoother:
- Large cast-iron skillet
- Large mixing bowl (for buttermilk soak)
- Medium bowl or shallow dish (for seasoned flour)
- Tongs
- Wire rack + baking sheet or paper towels
- Instant-read thermometer (for oil and chicken)
- Meat thermometer (optional but very helpful)
How to Make Grandma’s Iron-Skillet Fried Chicken
<span id=”grandmas-iron-skillet-fried-chicken-recipe”></span>
1. Soak the chicken in buttermilk
First, place the chicken pieces in a large bowl. Pour the buttermilk over the chicken until all the pieces are coated. Then cover and chill for at least 2 hours, or overnight for maximum tenderness and flavor.
2. Mix the seasoned flour
Next, in a separate bowl, whisk together the flour, paprika, garlic powder, onion powder, salt, black pepper, and baking powder. Because the baking powder helps create little craggy bits, it makes the crust extra crisp and light.
3. Heat the oil in the skillet
Now set your cast-iron skillet over medium heat. Add enough oil to come about ½ inch up the sides of the pan. Let it heat until the oil shimmers. If you drop in a pinch of flour and it sizzles right away, you’re ready.
4. Dredge the chicken
Then remove the chicken pieces from the buttermilk, letting the excess drip off. Dredge each piece in the seasoned flour, pressing the flour onto the surface so it clings well. Place floured chicken on a wire rack or tray while you finish dredging the rest.
5. Fry in batches, skin side down
Carefully lay the chicken pieces into the hot oil, skin side down. Do not overcrowd the skillet; it’s better to fry in batches so the oil stays hot and your iron-skillet fried chicken turns crisp instead of soggy.
6. Cook until golden and cooked through
Fry the chicken for about 6–8 minutes per side, adjusting the heat as needed so the crust doesn’t burn. The chicken should turn deep golden brown. The internal temperature should reach 165°F in the thickest part.
7. Drain and rest
Finally, transfer the fried chicken to a wire rack set over a baking sheet, or to paper towels to drain excess oil. Let the pieces rest a few minutes so the juices settle and the crust sets. Then serve hot, just like Grandma did.
Quick Ingredient Swap Table
| Ingredient | Easy Swap | What Changes |
|---|---|---|
| Whole chicken pieces | All drumsticks or thighs | More even cooking, extra juicy dark meat |
| Buttermilk | Milk + 1 Tbsp vinegar or lemon juice | Still tangy and tender, slightly lighter flavor |
| Vegetable oil | Peanut or canola oil | High smoke point, very clean taste |
| Paprika | Smoked paprika or Cajun seasoning | Smokier or spicier Southern-style chicken |
| Garlic & onion powder | Seasoned salt (reduce added salt) | More all-purpose savory flavor |
Tips for Perfect Results
- Keep the oil at the right heat
If the oil is too cool, the chicken gets greasy. If it’s too hot, the crust burns before the inside cooks. So adjust the heat as you go and watch that sizzle. - Don’t rush the soak
Letting the chicken rest in buttermilk for a few hours makes a huge difference. Because it tenderizes the meat and helps the coating stick like a dream. - Use cast iron if you can
A heavy skillet holds heat better, so your iron-skillet fried chicken cooks more evenly and keeps that gorgeous golden color.
Storage Instructions
Fried chicken leftovers are never a bad thing.
- Fridge: Store cooled chicken in an airtight container for up to 3–4 days.
- Reheat (crispiest): Reheat in a 350°F oven or air fryer until hot and crisp again, about 10–15 minutes.
- Reheat (quick): You can use the microwave in a pinch, but the crust will soften.
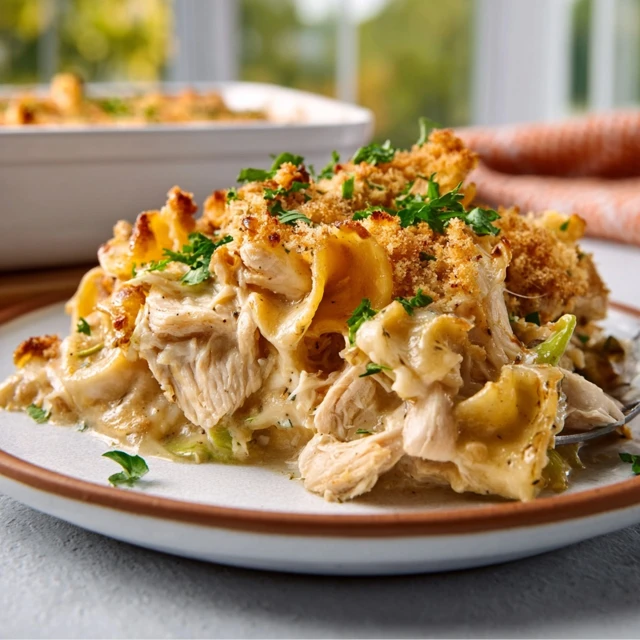
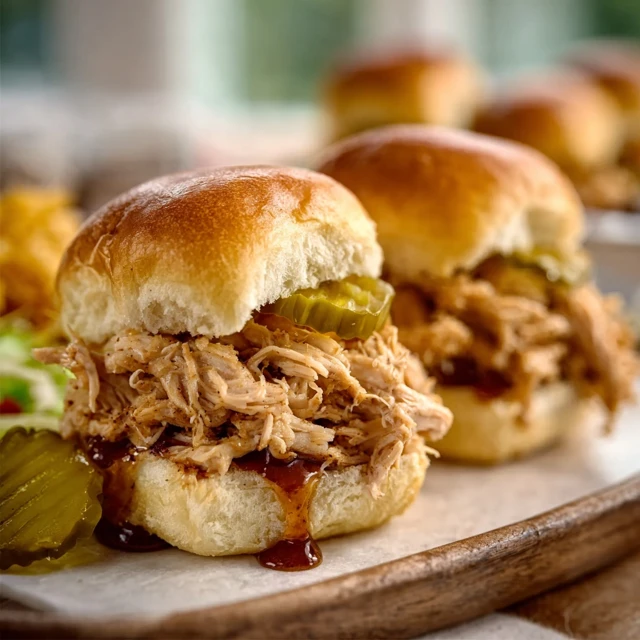
You can also shred leftover Grandma’s iron-skillet fried chicken for sandwiches, sliders, or salads.
FAQ – Grandma’s Iron-Skillet Fried Chicken
1. How long should I marinate chicken in buttermilk?
For the best Grandma’s iron-skillet fried chicken, marinate at least 2 hours, but overnight is even better. The longer soak makes the chicken more tender and flavorful.
2. What oil is best for iron-skillet fried chicken?
You’ll want a neutral oil with a high smoke point, like vegetable, canola, or peanut oil. These oils let the flavors of Grandma’s iron-skillet fried chicken shine without tasting heavy or burnt.
3. How do I keep the breading from falling off?
First, pat the chicken dry before marinating. Then, let the extra buttermilk drip off and press the seasoned flour firmly onto the chicken. Finally, avoid flipping too often. That way, the crust on your iron-skillet fried chicken stays put.
4. What temperature should fried chicken be when done?
Your Grandma’s iron-skillet fried chicken should reach 165°F in the thickest part of each piece. Use a meat thermometer if you have one to be sure.
5. Can I bake the chicken instead of frying?
You can. However, you won’t get quite the same crust as true iron-skillet fried chicken. You can spray the coated chicken with oil and bake at 400°F on a rack for a lighter version.
6. Can I use only drumsticks or thighs?
Yes, absolutely. Using all dark meat keeps Grandma’s iron-skillet fried chicken extra juicy and makes the cooking time more even across pieces.
Conclusion
There’s a reason Grandma’s iron-skillet fried chicken lives rent-free in so many family memories. It crackles when you bite in. It tastes like Sunday afternoons, backyard tables, and people you love crowding around the skillet “just to try one more piece.”
So pull out your cast iron. Pour the buttermilk. Dust your counter with a little flour and let your kitchen smell like home. Then plate this fried chicken with your favorite sides, snap a picture, and share it on TikTok or Instagram so everyone can see that golden crunch.
When you do, come back and tell me how it went, what you served alongside it, and what tweaks you made to make this Grandma’s iron-skillet fried chicken your own. And don’t forget to subscribe to the newsletter so you never miss the next cozy, old-school recipe.

Grandma’s Iron-Skillet Fried Chicken
Equipment
- Large cast-iron skillet
- Large mixing bowl for buttermilk soak
- Medium bowl or shallow dish for seasoned flour
- Tongs
- Wire rack + baking sheet or paper towels
- instant-read thermometer for oil and chicken
- Meat thermometer (optional)
Ingredients
- 1 whole chicken, cut into pieces
- 2 cups buttermilk
- 2 cups all-purpose flour
- 1 tsp paprika
- 1 tsp garlic powder
- 1 tsp onion powder
- 1 tsp salt
- 1 tsp black pepper
- 1 tsp baking powder
- Oil for frying (lard or vegetable oil)
Instructions
- Place chicken pieces in a bowl and cover with buttermilk. Cover and refrigerate for at least 2 hours or overnight.
- In a separate bowl, whisk together flour, paprika, garlic powder, onion powder, salt, black pepper, and baking powder.
- Heat 1/2 inch of oil in a cast-iron skillet over medium heat until it shimmers. A pinch of flour should sizzle on contact.
- Remove chicken from buttermilk, let excess drip off, and dredge each piece in the seasoned flour. Press flour on to adhere.
- Place chicken in skillet skin side down. Fry in batches without overcrowding, maintaining oil temperature.
- Cook chicken 6–8 minutes per side, or until golden and cooked through. Internal temp should reach 165°F.
- Transfer chicken to wire rack or paper towels to drain. Let rest a few minutes before serving hot.

")