
Imagine biting into a delicate, flaky piece of flounder, encased in a perfectly crisp, golden crust that practically melts in your mouth – that’s what awaits you with this Fried Flounder recipe. The best part? It’s surprisingly easy to achieve restaurant-quality results in your own kitchen, even if you’re a beginner. Let me show you how to make Fried Flounder so delicious, it will become a family favorite!
The Simple Ingredients You’ll Need
For the Flounder:
- 4 flounder fillets (about 6-8 ounces each), skin off
- 1 cup all-purpose flour
- 1 teaspoon salt
- 1/2 teaspoon black pepper
- 1/2 teaspoon garlic powder
- 1/4 teaspoon paprika
- 1 large egg
- 1/4 cup milk or buttermilk
- 1/2 cup yellow cornmeal (optional, for extra crispiness)
For Frying:
- 1 cup vegetable oil, canola oil, or peanut oil (for frying)
- Lemon wedges, for serving
- Tartar sauce, for serving (optional)
Step-by-Step Instructions for Perfect Fried Flounder

Preparing the Flounder:
- Pat the Flounder Dry: This is crucial! Use paper towels to thoroughly pat the flounder fillets dry. Excess moisture will prevent the coating from sticking and result in soggy fish.
- Season the Flounder: Lightly season both sides of the flounder fillets with salt and pepper. This simple step enhances the natural flavor of the fish.
Making the Breading:
- Combine Dry Ingredients: In a shallow dish, whisk together the flour, salt, pepper, garlic powder, and paprika. If you’re using cornmeal, add it to this mixture. The cornmeal adds a wonderful crunch, making the Fried Flounder extra special.
- Prepare the Egg Wash: In another shallow dish, whisk together the egg and milk (or buttermilk). Buttermilk adds a subtle tang that complements the flavor of the fish, but milk works just fine too.
- Set Up Your Breading Station: Arrange the flounder fillets, the flour mixture, and the egg wash in a line. This makes the breading process more efficient.
- Breading the Flounder: Dredge each flounder fillet in the flour mixture, making sure to coat it evenly. Then, dip it into the egg wash, allowing any excess to drip off. Finally, dredge it again in the flour mixture, ensuring a thorough coating. This double-dredging technique creates a super crispy crust.
Frying the Flounder:
- Heat the Oil: Pour the oil into a large skillet, preferably cast iron, over medium-high heat. The oil should be about 1/4 inch deep. Heat the oil until it shimmers and a small piece of bread dropped into the oil sizzles immediately. The correct oil temperature is critical to achieving that perfect Golden Fish.
- Fry the Flounder: Carefully place the breaded flounder fillets into the hot oil, being careful not to overcrowd the pan. Fry for 3-4 minutes per side, or until golden brown and cooked through. The internal temperature of the fish should reach 145°F (63°C).
- Remove and Drain: Use a slotted spatula to carefully remove the Fried Flounder from the skillet and place it on a wire rack lined with paper towels to drain excess oil. This helps maintain the crispiness of the crust.
Serving:
- Serve Immediately: Fried Flounder is best served immediately while it’s hot and crispy.
- Garnish and Serve: Serve with lemon wedges and tartar sauce, if desired. A sprinkle of fresh parsley adds a touch of color and freshness.
Tips and Tricks for the BEST Fried Flounder
I want to share some of my favorite tips and tricks I’ve learned over the years for making truly exceptional Fried Flounder. These simple adjustments can take your seafood dinner from good to absolutely amazing!
- Use Fresh Flounder: The fresher the flounder, the better the flavor. Look for fillets that are firm, have a mild smell, and don’t appear slimy.
- Don’t Overcrowd the Pan: Frying too many fillets at once will lower the oil temperature, resulting in greasy, unevenly cooked fish. Fry in batches, if necessary.
- Maintain the Oil Temperature: Use a thermometer to monitor the oil temperature. If the oil is too hot, the outside of the fish will burn before the inside is cooked. If the oil is not hot enough, the fish will absorb too much oil. Aim for a consistent temperature of around 350°F (175°C).
- Season Generously: Don’t be afraid to season the flour mixture and the fish liberally. The seasoning will help to enhance the flavor of the flounder. Consider adding a pinch of cayenne pepper to the flour mixture for a little heat.
- Experiment with Different Coatings: While the classic flour coating is delicious, you can also experiment with other coatings, such as panko breadcrumbs or crushed crackers. Panko breadcrumbs will create an extra crispy crust.
- Rest the Flounder Before Breading: Allowing the flounder to sit at room temperature for about 15 minutes before breading helps it to cook more evenly.
Perfect Pairings: Side Dishes That Complement Fried Flounder
What’s a fantastic Fried Flounder without equally delicious side dishes? Here are some of my go-to pairings that will elevate your Seafood Dinner:
- Coleslaw: The cool, creamy crunch of coleslaw provides a refreshing contrast to the rich, crispy fish.
- French Fries or Fried Catfish With Hushpuppies: A classic pairing that’s always a hit, especially with kids.
- Skillet Cornbread Recipe: Sweet and buttery cornbread is the perfect accompaniment to Southern Fried Flounder.
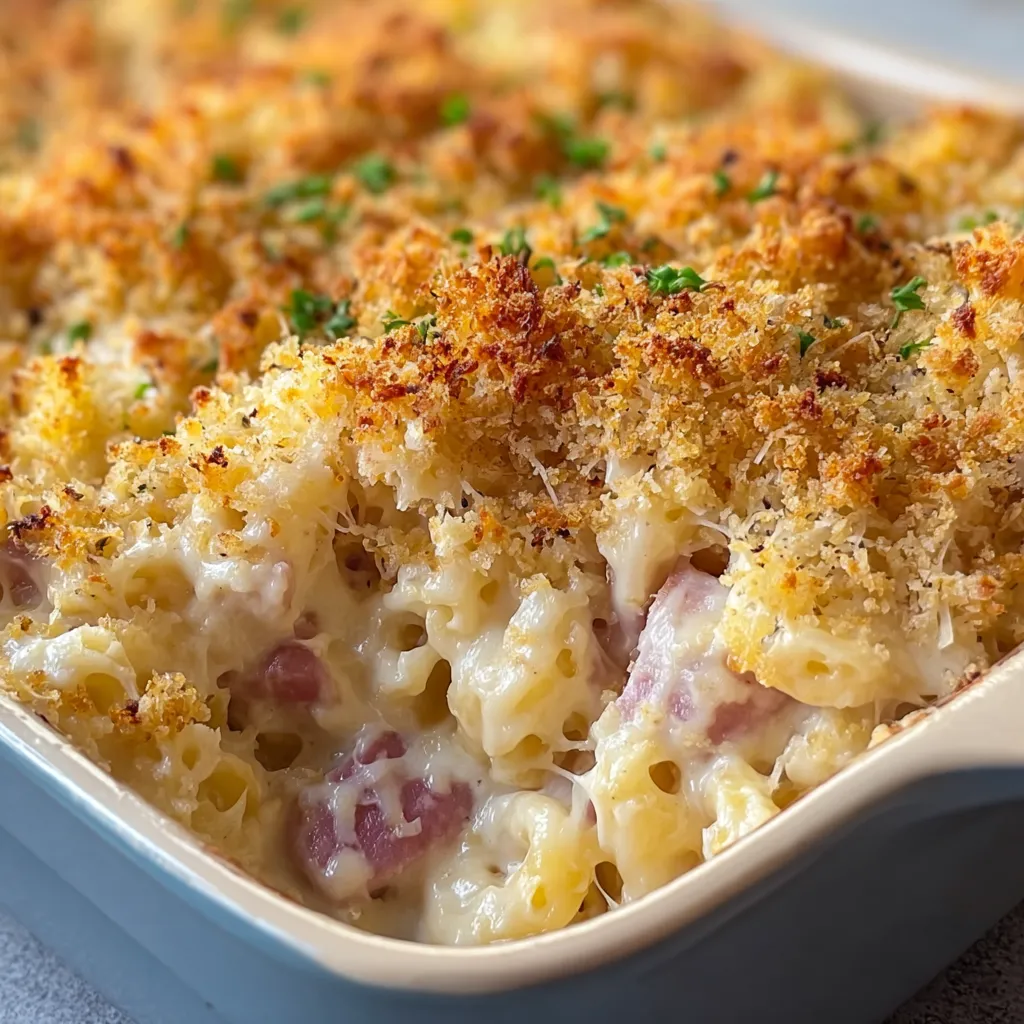
- Mac and Cheese: Creamy mac and cheese is another comforting side dish that pairs well with fried fish.
- Steamed or Roasted Vegetables: For a healthier option, serve the Fried Flounder with steamed or roasted vegetables like broccoli, asparagus, or green beans.
- Grits: Creamy grits are a Southern staple that complements fried seafood beautifully.
Variations on a Theme: Exploring Different Flounder Recipes
While this Fried Flounder recipe is a classic, there are so many other delicious ways to enjoy flounder. Here are a few variations to inspire you:
- Baked Flounder: For a healthier option, bake the flounder instead of frying it. Simply season the fillets, place them on a baking sheet, and bake at 375°F (190°C) for 15-20 minutes, or until cooked through.
- Grilled Flounder: Grilling flounder gives it a smoky flavor that’s perfect for summer. Marinate the fillets for about 30 minutes before grilling over medium heat.
- Pan-Seared Flounder: Pan-searing is a quick and easy way to cook flounder. Simply sear the fillets in a hot skillet with a little butter or oil until golden brown and cooked through.
- Flounder Piccata: This classic Italian dish features pan-seared flounder in a lemon-caper sauce.
- Flounder Stuffed with Crabmeat: This elegant dish is perfect for special occasions. Stuff the flounder fillets with a mixture of crabmeat, breadcrumbs, and herbs, then bake until cooked through.
Fried Flounder: Part of the Family Favorites
In my family, seafood dinner night is always a hit, especially when Fried Flounder is on the menu. It’s right up there with other family favorites like Iron-skillet Fried Chicken and Fried Chicken Tenders. The simplicity of the recipe and the guaranteed deliciousness make it a winner every time. While we love our land-based comfort food, this Golden Fish dish offers a lighter, equally satisfying alternative. Plus, the quick cook time is a lifesaver on busy weeknights. Sometimes we’ll even switch things up and make Fried Pork Chops if we aren’t in a fish mood.
Troubleshooting Common Fried Flounder Problems
Even with the best intentions, sometimes things don’t go exactly as planned. Here are some common problems you might encounter and how to fix them:
- Soggy Fish: This is usually caused by not patting the fish dry enough or not using hot enough oil. Make sure to thoroughly dry the fish and maintain a consistent oil temperature.
- Coating Not Sticking: This can happen if the fish is too wet or if the flour mixture is not properly adhered. Try dredging the fish in cornstarch before coating it with flour.
- Fish Burning Before It’s Cooked Through: This usually indicates that the oil is too hot. Lower the heat and cook the fish for a longer period of time.
- Fish Sticking to the Pan: Use a non-stick skillet or make sure your cast iron skillet is well-seasoned. Also, avoid moving the fish around too much while it’s frying.
Why This Fried Flounder Recipe is a Must-Try
This Fried Flounder recipe isn’t just another way to cook fish; it’s a guaranteed path to a delightful Seafood Dinner. The combination of fresh, flaky flounder and a perfectly crispy, seasoned crust is simply irresistible. The use of simple ingredients and straightforward instructions makes it accessible to cooks of all skill levels. Whether you’re looking for a quick weeknight meal or a crowd-pleasing dish for a special occasion, this Fried Flounder recipe is sure to impress. And who knows, maybe you’ll even serve it with Lime Chicken Tacos at your next cookout.
So, grab some fresh flounder, gather your Simple Ingredient, and get ready to enjoy the best Fried Flounder you’ve ever tasted! You’ve got this – happy frying!
What’s the secret to getting the flounder crispy instead of soggy?
The key is to pat the flounder fillets thoroughly dry with paper towels before breading. Excess moisture prevents the coating from sticking and leads to soggy fish. Also, make sure the oil is hot enough before frying.
What kind of oil is best for frying the flounder?
The recipe recommends using vegetable oil, canola oil, or peanut oil for frying. Make sure to heat the oil until it shimmers and a small piece of bread dropped into the oil sizzles immediately.
What can I serve with the fried flounder?
The article suggests serving it with lemon wedges and tartar sauce. Some good side dishes include coleslaw, french fries, skillet cornbread, mac and cheese, steamed or roasted vegetables, and grits.
What if my fish is burning on the outside but not cooked on the inside?
If the fish is burning before it’s cooked through, it usually means the oil is too hot. Lower the heat and cook the fish for a longer period of time.

Best Ever Fried Flounder
Equipment
- Shallow dishes
- Whisk
- Large skillet (preferably cast iron)
- Slotted spatula
- Wire rack
- Paper towels
- Thermometer (optional)
Ingredients
- 4 flounder fillets 6-8 ounces each
- 1 cup all-purpose flour
- 1 teaspoon salt
- ½ teaspoon black pepper
- ½ teaspoon garlic powder
- ¼ teaspoon paprika
- 1 large egg
- ¼ cup milk or buttermilk
- ½ cup yellow cornmeal optional
- 1 cup vegetable oil, canola oil, or peanut oil
- Lemon wedges, for serving
- Tartar sauce, for serving optional
Instructions
- Pat the flounder fillets dry with paper towels.
- Season both sides of the flounder fillets with salt and pepper.
- In a shallow dish, whisk together the flour, salt, pepper, garlic powder, and paprika. Add cornmeal if using.
- In another shallow dish, whisk together the egg and milk (or buttermilk).
- Dredge each flounder fillet in the flour mixture, coating evenly.
- Dip the fillet into the egg wash, allowing excess to drip off.
- Dredge the fillet again in the flour mixture, ensuring a thorough coating.
- Pour the oil into a large skillet (about 1/4 inch deep) and heat over medium-high heat until it shimmers and a small piece of bread sizzles immediately (around 350°F or 175°C).
- Carefully place the breaded flounder fillets into the hot oil, being careful not to overcrowd the pan.
- Fry for 3-4 minutes per side, or until golden brown and the internal temperature reaches 145°F (63°C).
- Use a slotted spatula to remove the flounder from the skillet and place it on a wire rack lined with paper towels to drain excess oil.
- Serve immediately with lemon wedges and tartar sauce, if desired.

")