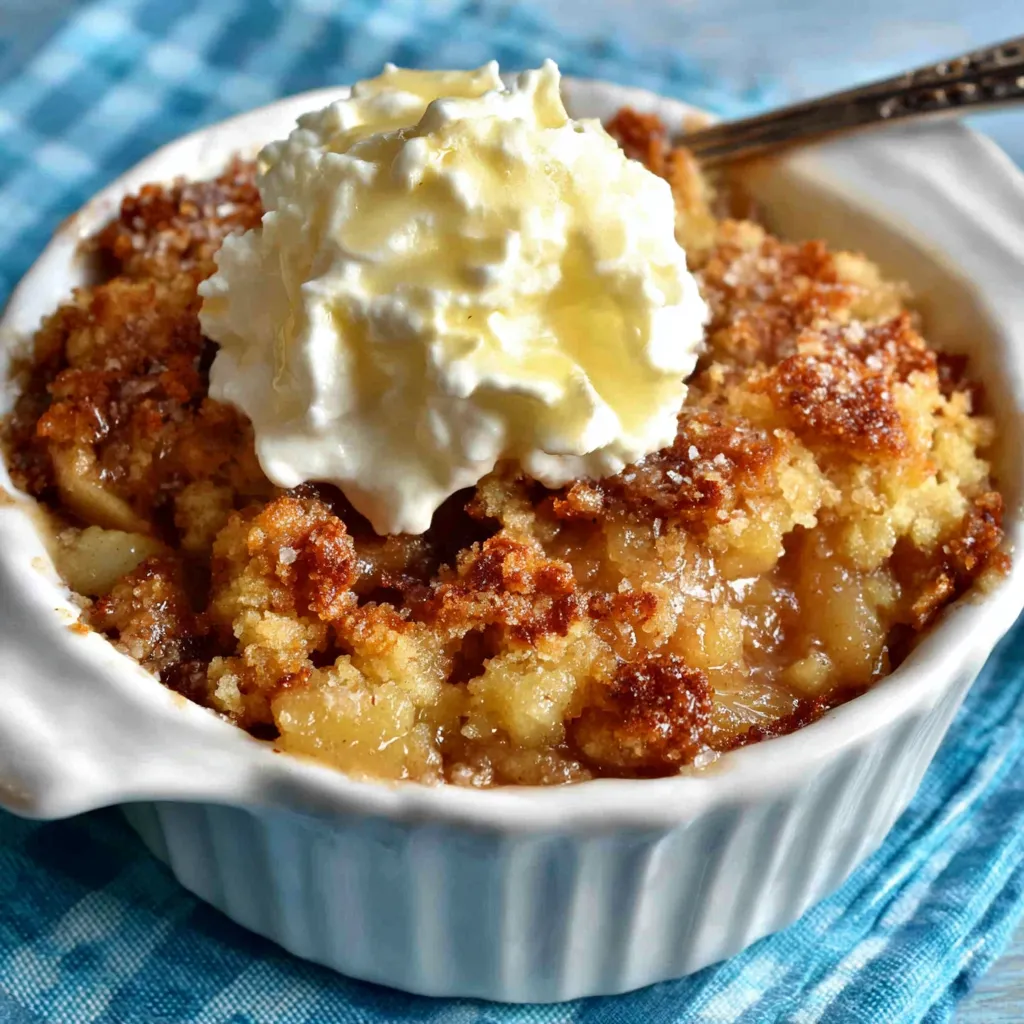
I can still picture my Grandma Betty, her apron dusted with flour, pulling a bubbling, golden-brown masterpiece from her ancient oven. The scent of cinnamon and sweet apples would fill her entire kitchen, a smell that instantly meant love and comfort. It was her legendary Apple Cobbler Recipe, a dessert that somehow tasted like a warm hug. Today, I’m sharing my adapted and perfected version of her recipe, promising you a slice of pure, nostalgic happiness with every bite!
The Ultimate Apple Cobbler Recipe: A Step-by-Step Guide
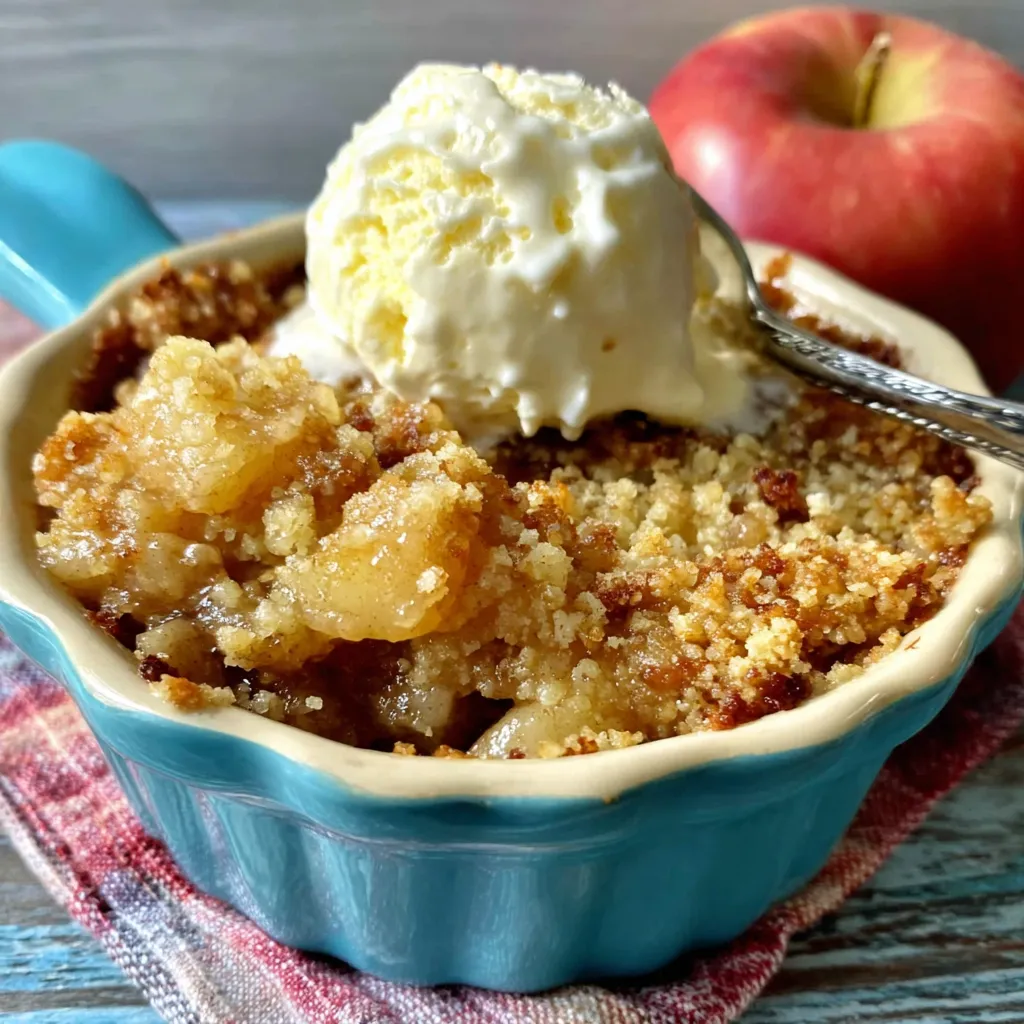
Get ready to experience the magic of a truly exceptional apple cobbler! This isn’t just any recipe; it’s a journey into deliciousness, packed with warm spices, tender apples, and a biscuit topping that’s both crisp and fluffy. I’ll walk you through each step, ensuring your cobbler turns out perfectly every single time. Let’s get baking!
Ingredients You’ll Need
- For the Apple Filling:
- 6-8 medium apples (such as Granny Smith, Honeycrisp, or a mix), peeled, cored, and sliced
- 1/2 cup granulated sugar
- 1/4 cup packed light brown sugar
- 2 tablespoons all-purpose flour
- 1 teaspoon ground cinnamon
- 1/4 teaspoon ground nutmeg
- 1/4 teaspoon ground ginger
- 2 tablespoons lemon juice
- 2 tablespoons butter, cut into small pieces
- For the Cobbler Topping:
- 1 1/2 cups all-purpose flour
- 1/4 cup granulated sugar
- 1 1/2 teaspoons baking powder
- 1/4 teaspoon salt
- 6 tablespoons (3 ounces) cold unsalted butter, cut into small pieces
- 1/2 cup milk or buttermilk
- 2 tablespoons granulated sugar, for sprinkling (optional)
Equipment You’ll Need
- 9×13 inch baking dish
- Large bowl
- Medium bowl
- Measuring cups and spoons
- Pastry blender or food processor (optional, for the topping)
Step-by-Step Instructions
- Preheat your oven to 375°F (190°C). Getting the oven ready is always the first step!
- Prepare the apple filling: In a large bowl, combine the sliced apples, granulated sugar, brown sugar, flour, cinnamon, nutmeg, ginger, and lemon juice. Gently toss everything together until the apples are evenly coated. The lemon juice not only adds a little zing, but also keeps the apples from browning too much.
- Pour the apple mixture into the baking dish. Distribute the apples evenly across the bottom of the dish.
- Dot the apple filling with butter. Scatter the small pieces of butter evenly over the top of the apple mixture. This adds richness and flavor.
- Prepare the cobbler topping: In a medium bowl, whisk together the flour, sugar, baking powder, and salt. This ensures the baking powder is evenly distributed.
- Cut in the butter: Using a pastry blender or your fingertips, cut the cold butter into the dry ingredients until the mixture resembles coarse crumbs. You can also use a food processor for this step; just pulse until the butter is incorporated. The key here is to keep the butter cold!
- Add the milk: Pour in the milk (or buttermilk) and stir until just combined. Don’t overmix! The batter will be a little shaggy, and that’s perfectly fine.
- Drop spoonfuls of the topping over the apples: Drop spoonfuls of the cobbler topping evenly over the apple filling. Don’t worry about covering every single apple slice; the topping will spread as it bakes.
- Sprinkle with sugar (optional): If desired, sprinkle the top of the cobbler with the remaining 2 tablespoons of granulated sugar. This adds a lovely sparkle and extra sweetness.
- Bake for 45-55 minutes: Bake in the preheated oven for 45-55 minutes, or until the topping is golden brown and the apple filling is bubbling. If the topping starts to brown too quickly, you can tent the dish loosely with foil.
- Let cool slightly before serving. Allow the cobbler to cool for at least 15-20 minutes before serving. This allows the filling to thicken slightly and prevents you from burning your tongue!
- Serve and enjoy! Serve warm, plain or with a scoop of vanilla ice cream or a dollop of whipped cream. It’s pure comfort food heaven!
Success Tips for the Perfect Apple Cobbler
- Choose the right apples: Using a mix of apple varieties, like Granny Smith for tartness and Honeycrisp for sweetness, adds depth of flavor to your cobbler. Avoid apples that tend to get mushy when baked.
- Keep the butter cold: Cold butter is crucial for creating a tender and flaky cobbler topping. Make sure your butter is well-chilled before cutting it into the dry ingredients. You can even pop it in the freezer for 10-15 minutes beforehand.
- Don’t overmix the topping: Overmixing the cobbler topping will result in a tough, dense topping. Stir the milk into the dry ingredients until just combined. A few lumps are perfectly fine!
- Adjust the sweetness to your liking: If you prefer a less sweet cobbler, you can reduce the amount of sugar in both the filling and the topping. Taste the apple mixture before adding it to the baking dish and adjust the sugar as needed.
- Make it ahead of time: You can assemble the apple cobbler ahead of time and store it in the refrigerator for up to 24 hours before baking. Just add a few extra minutes to the baking time to ensure it’s heated through.
Variations and Add-ins to Make it Your Own
One of the best things about apple cobbler is how easily you can customize it to your own tastes! Here are a few ideas to get you started:
- Add spices: Experiment with different spices, such as cardamom, allspice, or cloves, to add a unique flavor to your cobbler. A pinch of sea salt in the filling can also enhance the sweetness of the apples.
- Incorporate nuts: Add chopped pecans, walnuts, or almonds to the cobbler topping for a little crunch and nutty flavor.
- Use different fruits: Try adding other fruits to the apple filling, such as peaches, blueberries, or cranberries. Just be sure to adjust the amount of sugar accordingly, depending on the sweetness of the fruit.
- Spice up the topping: Add a sprinkle of cinnamon or nutmeg to the cobbler topping for extra warmth and flavor.
- Add a crumble topping: For a crispier topping, try making a crumble topping instead of a biscuit topping. Combine flour, sugar, butter, and nuts in a bowl and crumble it over the apple filling before baking.
Serving Suggestions for Your Apple Cobbler Masterpiece
While apple cobbler is delicious on its own, there are plenty of ways to elevate it to the next level! Here are a few serving suggestions:
- Vanilla ice cream: A classic pairing! The cold, creamy ice cream melts slightly over the warm cobbler, creating a heavenly combination of textures and temperatures.
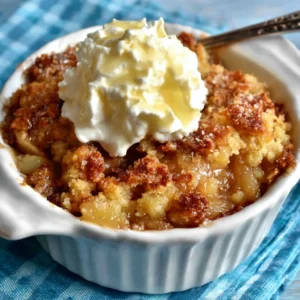
- Whipped cream: A dollop of freshly whipped cream adds a light and airy touch to the cobbler.
- Caramel sauce: Drizzle warm caramel sauce over the cobbler for an extra layer of sweetness and decadence. If you’re a caramel apple fanatic, you might also adore Caramel Apple Cheesecake Dip – it’s a fantastic party appetizer!
- Cinnamon sugar: Sprinkle a little cinnamon sugar over the cobbler for a warm and comforting finish.
- Warm custard: A creamy custard sauce is the perfect accompaniment to apple cobbler, especially on a chilly evening.
Making Apple Cobbler: A Journey of Flavor
Making apple cobbler isn’t just about following a recipe; it’s about creating an experience. It’s about the warmth of the oven, the comforting aroma of cinnamon and apples, and the joy of sharing a homemade dessert with loved ones. Don’t be afraid to experiment, have fun, and make this recipe your own! And if you’re looking for more apple-inspired fall treats, you simply MUST try the Apple Crisp Mini Cheesecakes – they are absolutely divine!
Speaking of divine, let’s talk about other tempting apple variations. Have you ever considered Caramel Apple Nachos? They’re a playful and delicious twist on a classic treat, perfect for a casual get-together. Or perhaps you’d prefer the convenience of Caramel Apple Bars for lunchboxes or picnics? The possibilities are endless! If you love cookies, you should check out these Apple Pie Cookies. They have all the flavors of apple pie in a fun, portable package.
And for a truly unique treat, consider trying your hand at Fried Peach or Apple Pies! They are a delicious handheld treat with a crispy, golden crust and a warm, fruity filling.
Troubleshooting Your Apple Cobbler
Even the best bakers sometimes encounter a few bumps in the road. Here are some common issues and how to fix them:
- Topping is too dry: If your cobbler topping is too dry, it may be because you used too much flour or not enough liquid. Try adding a tablespoon or two of milk or buttermilk to the batter until it reaches the desired consistency.
- Topping is too tough: A tough cobbler topping is usually the result of overmixing the batter. Be sure to stir the ingredients until just combined.
- Apples are too tart: If your apples are too tart, you can add a little extra sugar to the filling. You can also try using a sweeter variety of apples.
- Apples are too mushy: To prevent your apples from becoming too mushy, avoid overcooking them. Choose apples that hold their shape well during baking.
- Cobbler is browning too quickly: If your cobbler is browning too quickly, you can tent it loosely with foil during the last 15-20 minutes of baking.
Storage Instructions
If you have any leftover apple cobbler (which is rare!), here’s how to store it:
- Refrigerator: Store leftover apple cobbler in an airtight container in the refrigerator for up to 3-4 days.
- Freezer: For longer storage, you can freeze apple cobbler. Let it cool completely, then wrap it tightly in plastic wrap and foil or place it in a freezer-safe container. Freeze for up to 2-3 months. To reheat, thaw the cobbler overnight in the refrigerator and then bake in a preheated oven at 350°F (175°C) until warmed through.
Reheating tip: To prevent the topping from getting soggy when reheating, you can place a sheet of parchment paper over the cobbler before baking.
Conclusion: Your Apple Cobbler Adventure Awaits!
So there you have it – my ultimate guide to making the most incredible Apple Cobbler Recipe imaginable! I hope this recipe brings you as much joy and comfort as it’s brought me over the years. Remember, baking is all about experimentation and having fun. Don’t be afraid to put your own spin on this recipe and make it your own. Now go forth and bake the best apple cobbler the world has ever seen! I have absolute faith in you!
What types of apples are best to use in this apple cobbler recipe?
The recipe suggests using a mix of apple varieties, such as Granny Smith for tartness and Honeycrisp for sweetness. It’s best to avoid apples that get mushy when baked.
How can I prevent the cobbler topping from becoming tough?
To prevent a tough cobbler topping, avoid overmixing the batter. Stir the milk into the dry ingredients until just combined; a few lumps are perfectly fine.
Can I prepare the apple cobbler ahead of time?
Yes, you can assemble the apple cobbler ahead of time and store it in the refrigerator for up to 24 hours before baking. Just add a few extra minutes to the baking time to ensure it’s heated through.
How should I store leftover apple cobbler?
Store leftover apple cobbler in an airtight container in the refrigerator for up to 3-4 days. For longer storage, you can freeze it for up to 2-3 months, wrapped tightly in plastic wrap and foil or in a freezer-safe container.
BEST EVER Apple Cobbler
Equipment
- 9×13 inch baking dish
- Large bowl
- Medium bowl
- Measuring cups
- Measuring spoons
- Pastry blender or food processor
- Whisk
- Oven
- Spatula
- Apple peeler
- Apple corer
- Knife
- Cutting board
Ingredients
- 6-8 medium apples such as Granny Smith, Honeycrisp, or a mix
- ½ cup granulated sugar
- ¼ cup packed light brown sugar
- 2 tablespoons all-purpose flour
- 1 teaspoon ground cinnamon
- ¼ teaspoon ground nutmeg
- ¼ teaspoon ground ginger
- 2 tablespoons lemon juice
- 2 tablespoons butter, cut into small pieces
- 1 ½ cups all-purpose flour
- ¼ cup granulated sugar
- 1 ½ teaspoons baking powder
- ¼ teaspoon salt
- ½ cup milk or buttermilk
- 2 tablespoons granulated sugar, for sprinkling optional
Instructions
- Preheat your oven to 375°F (190°C).
- In a large bowl, combine the sliced apples, granulated sugar, brown sugar, flour, cinnamon, nutmeg, ginger, and lemon juice.
- Gently toss everything together until the apples are evenly coated.
- Pour the apple mixture into the baking dish.
- Distribute the apples evenly across the bottom of the dish.
- Dot the apple filling with butter. Scatter the small pieces of butter evenly over the top of the apple mixture.
- In a medium bowl, whisk together the flour, sugar, baking powder, and salt.
- Using a pastry blender or your fingertips, cut the cold butter into the dry ingredients until the mixture resembles coarse crumbs.
- Alternatively, use a food processor and pulse until the butter is incorporated.
- Pour in the milk (or buttermilk) and stir until just combined. Do not overmix; the batter will be a little shaggy.
- Drop spoonfuls of the cobbler topping evenly over the apple filling. Don’t worry about covering every apple slice; the topping will spread as it bakes.
- If desired, sprinkle the top of the cobbler with the remaining 2 tablespoons of granulated sugar.
- Bake in the preheated oven for 45-55 minutes, or until the topping is golden brown and the apple filling is bubbling. If the topping starts to brown too quickly, tent the dish loosely with foil.
- Let cool for at least 15-20 minutes before serving. This allows the filling to thicken.
- Serve warm, plain or with a scoop of vanilla ice cream or a dollop of whipped cream.
