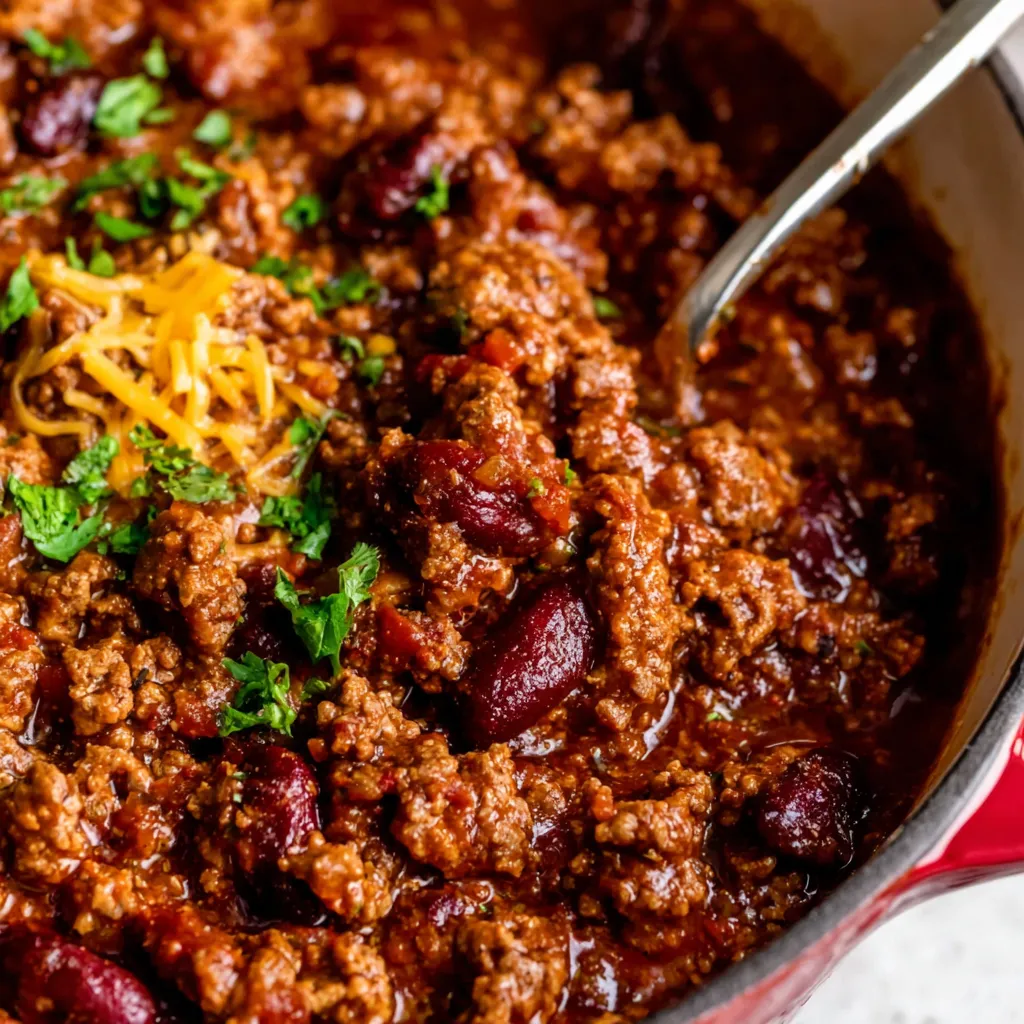
I can still picture my grandpa, stirring a giant pot over a crackling fire, the aroma of spices and simmering tomatoes filling the air. Chili was *his* dish, a recipe passed down through generations, tweaked and perfected with each telling. It was more than just a meal; it was a tradition, a warm hug on a cold day. Today, I’m sharing my version, inspired by his legacy, to bring you The Best Chili Recipe you’ll ever crave!
Unlocking Chili Nirvana: Your Guide to the Best Chili Recipe
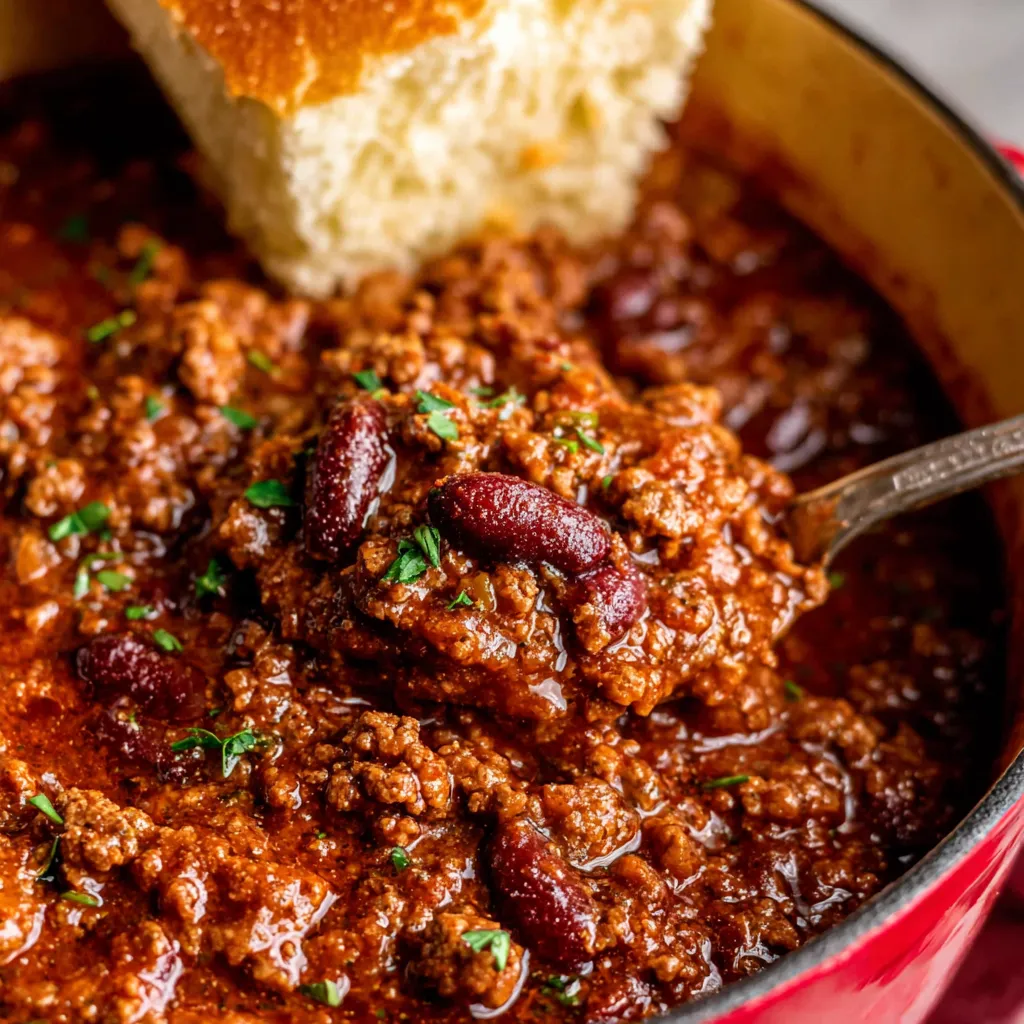
Okay, friend, let’s talk chili. Not just *any* chili, but the kind of chili that makes you close your eyes, sigh contentedly, and immediately reach for a second bowl. We’re talking about deeply flavorful, perfectly textured, and utterly satisfying chili that’ll become a family favorite. This isn’t some watered-down, bland excuse for chili; this is the real deal. And I’m here to guide you every step of the way. I promise, even if you think you can’t cook, you CAN make this chili! It’s much easier than you think, and the results are absolutely worth it.
Why This Recipe Is the Best (Seriously!)
Before we dive into the nitty-gritty, let me tell you why I’m so confident in this recipe. It’s not just because I’ve been making it for years (and tweaking it to perfection, of course!). It’s because this recipe focuses on layering flavors, using quality ingredients, and employing simple techniques that yield incredible results. We’re not cutting corners here; we’re building a flavor profile that will knock your socks off. Plus, it’s incredibly versatile. You can adjust the spice level, use different types of beans, and even add your own personal touch. It’s YOUR chili adventure!
The Ultimate Chili Recipe: Step-by-Step
Alright, let’s get cooking! Gather your ingredients, put on your favorite tunes, and let’s make some chili magic together.
- Prep Your Veggies: Dice 1 large onion, 2 bell peppers (any color, or a mix!), and 2-3 cloves of garlic. Don’t skimp on the garlic – it adds a wonderful depth of flavor. I like to dice my onions and peppers fairly small for even cooking and a more pleasing texture in the final dish.
- Brown the Beef: In a large pot or Dutch oven, brown 1.5-2 pounds of ground beef (or ground turkey or even ground chicken!). Break it up with a spoon as it cooks. We want it nice and browned, but not burnt. Browning the beef is crucial for developing that rich, savory flavor. Drain off any excess grease. Trust me, this step is important.
- Sauté the Aromatics: Add the diced onion and bell peppers to the pot with the browned beef. Cook over medium heat until the onions are translucent and the peppers are slightly softened, about 5-7 minutes. Stir frequently to prevent burning. You’ll notice the wonderful aroma filling your kitchen – that’s the magic happening!
- Add the Garlic and Spices: Add the minced garlic and 2-3 tablespoons of chili powder (depending on your spice preference – start with less, you can always add more later!), 1 tablespoon of cumin, 1 teaspoon of smoked paprika, 1/2 teaspoon of oregano, 1/4 teaspoon of cayenne pepper (optional, for extra heat), and salt and pepper to taste. Cook for another minute or two, until the spices are fragrant. This is where the flavor really starts to bloom. The spices will toast slightly, releasing their oils and creating a complex, aromatic base for the chili.
- Stir in the Tomatoes: Add one 28-ounce can of crushed tomatoes, one 15-ounce can of tomato sauce, and one 10-ounce can of diced tomatoes and green chilies (like Rotel, if you want a little extra kick!). Stir well to combine.
- Add the Beans: Drain and rinse two 15-ounce cans of beans. I like to use a combination of kidney beans and pinto beans, but you can use your favorites! Black beans, chili beans, or even great northern beans work well.
- Simmer, Simmer, Simmer: Bring the chili to a simmer, then reduce the heat to low, cover, and let it simmer for at least 1 hour, or up to 3 hours. The longer it simmers, the more the flavors will meld together and the richer the chili will become. Stir occasionally to prevent sticking. The chili should be gently bubbling, not boiling.
- Taste and Adjust: After simmering, taste the chili and adjust the seasonings as needed. Add more chili powder for more flavor, cayenne pepper for more heat, salt and pepper to taste, or even a pinch of sugar to balance the acidity of the tomatoes.
- Serve and Enjoy! Ladle the chili into bowls and top with your favorite toppings, such as shredded cheese, sour cream, chopped onions, cilantro, avocado, or a dollop of Greek yogurt. The possibilities are endless! Serve with cornbread, crackers, or tortilla chips for dipping.
Success Tips for Perfect Chili Every Time
These are my “golden rules” for chili perfection. Follow these, and you’ll be unstoppable!
- Bloom Your Spices: Don’t just dump the spices into the pot. Sautéing them in a little oil or with the aromatics releases their essential oils and creates a more complex flavor. It’s a game-changer!
- Don’t Rush the Simmer: The longer you simmer the chili, the better it will taste. This allows the flavors to meld together and the chili to thicken. Trust me, patience is key here!
- Taste and Adjust: This is crucial! Every palate is different, so taste the chili after simmering and adjust the seasonings to your liking. Don’t be afraid to experiment!
- Don’t Overcook the Beef: Overcooked ground beef can become dry and tough. Brown it until it’s just cooked through, then remove it from the pot. Add it back in with the tomatoes to keep it tender.
- Choose Quality Ingredients: The quality of your ingredients will directly impact the flavor of your chili. Use good-quality ground beef, ripe tomatoes, and fresh spices for the best results.
Variations to Make This Chili Your Own
One of the best things about chili is that it’s so versatile! Feel free to experiment and make it your own.
Spice It Up (or Down!)
If you like a really spicy chili, add more cayenne pepper, a chopped jalapeño pepper, or a few dashes of hot sauce. If you prefer a milder chili, reduce the amount of chili powder and omit the cayenne pepper. You can also use a mild chili powder blend.
Add Some Veggies
Feel free to add other vegetables to the chili, such as corn, zucchini, or butternut squash. These will add sweetness and texture to the dish. If you’re looking for a hearty vegetarian option, try swapping the ground beef for cubed sweet potatoes. You might even enjoy my SWEET POTATO CHILI .
Change Up the Beans
Use your favorite type of beans! Black beans, kidney beans, pinto beans, chili beans, or great northern beans all work well. You can even use a combination of different types of beans.
Make It Vegetarian (or Vegan!)
To make this chili vegetarian, simply omit the ground beef and add more vegetables, such as corn, zucchini, or mushrooms. You can also use a plant-based ground meat substitute. To make it vegan, use vegetable broth instead of beef broth and omit any dairy toppings, such as sour cream or cheese.
Chili Topping Ideas: The Fun Part!
Toppings are where you can really get creative! Here are some of my favorite chili toppings:
- Shredded cheese (cheddar, Monterey Jack, pepper Jack)
- Sour cream or Greek yogurt
- Chopped onions or green onions
- Cilantro
- Avocado
- Diced tomatoes
- Jalapeños
- Hot sauce
- Cornbread
- Crackers
- Tortilla chips
Seriously, the possibilities are endless! Set out a topping bar and let everyone customize their own bowl of chili.
Making Chili Ahead and Storing Leftovers
Chili is the perfect make-ahead meal! It actually tastes even better the next day, as the flavors have had more time to meld together. You can make the chili up to 3 days in advance and store it in the refrigerator. Simply reheat it on the stovetop or in the microwave before serving. You can also freeze chili for up to 3 months. Let it cool completely before transferring it to freezer-safe containers or bags. When ready to eat, thaw it in the refrigerator overnight and reheat as directed.
Level Up Your Chili Game: Related Recipes & Ideas
Once you’ve mastered this basic chili recipe, why not branch out and try some other variations? Here are a few of my favorites:
- For a lighter, creamy take, you should consider my Creamy White Chicken Chili. It’s a dump-and-forget recipe that is a guaranteed crowd-pleaser!
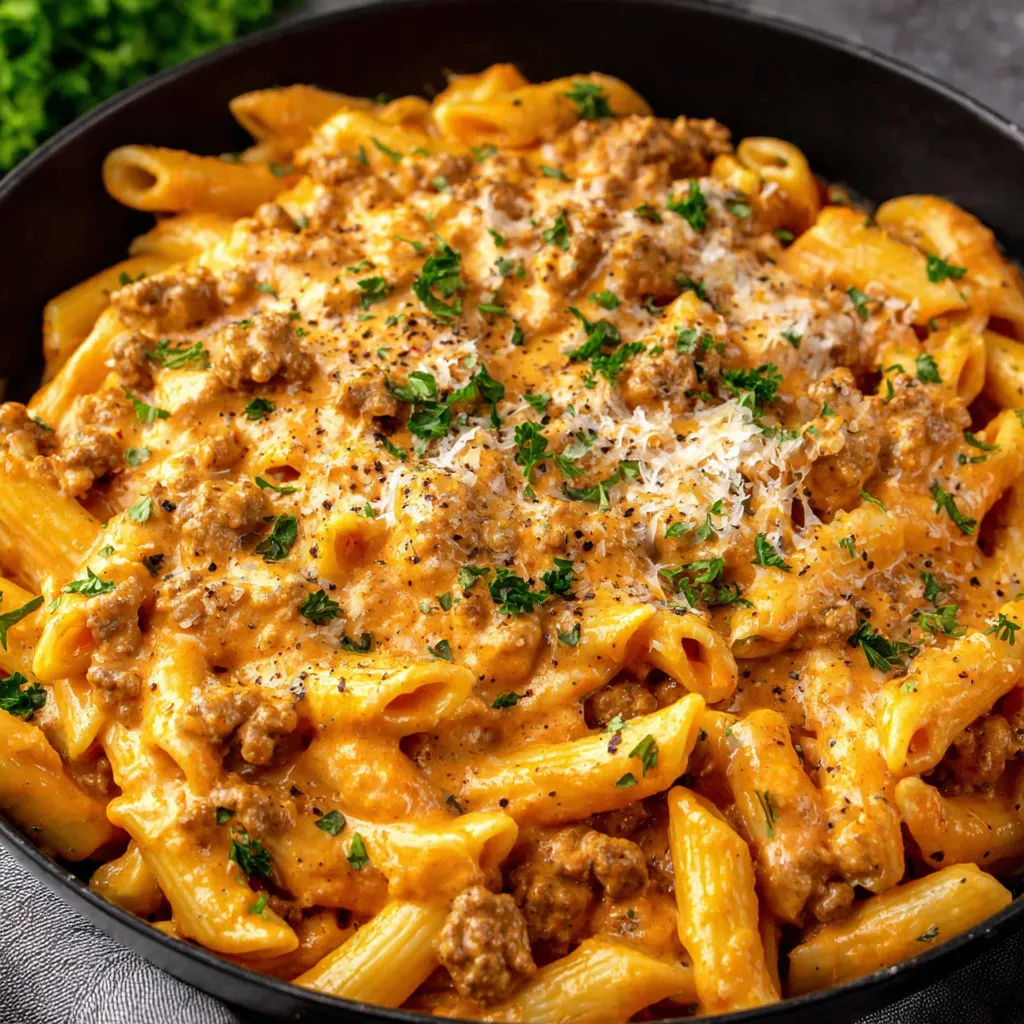
- Looking for a cheesy, comforting twist? Try my CHEDDAR CHILI MAC. It’s the ultimate comfort food mashup!
- Or, if you are craving a different soup experience, you can enjoy CHILE RELLENO SOUP HEAVEN.
- You might also consider making a White Chicken Chili if you’re looking for a lighter, but equally flavorful, option.
My Final Thoughts on the Best Chili Recipe
There you have it! My ultimate guide to making The Best Chili Recipe. I hope you’ll give it a try and let me know what you think. Remember, cooking should be fun and relaxing. Don’t be afraid to experiment, make mistakes, and most importantly, enjoy the process! And be sure to share your chili creations with me – I can’t wait to see what you come up with. Happy cooking, my friend!
What makes this chili recipe stand out from other recipes?
This recipe focuses on layering flavors, using quality ingredients, and employing simple techniques to create a deeply flavorful, perfectly textured, and utterly satisfying chili. It’s versatile, allowing you to adjust the spice level and customize it to your liking.
Can I prepare this chili in advance, and how should I store it?
Yes, chili is perfect for making ahead! It tastes even better the next day. You can refrigerate it for up to 3 days or freeze it for up to 3 months. Cool completely before storing and reheat on the stovetop or in the microwave.
What are some topping suggestions to enhance the chili?
The possibilities are endless, but some popular options include shredded cheese, sour cream or Greek yogurt, chopped onions or green onions, cilantro, avocado, diced tomatoes, jalapeños, and hot sauce. Serve with cornbread, crackers, or tortilla chips for dipping.
What if I want to make this chili vegetarian or vegan?
To make it vegetarian, omit the ground beef and add more vegetables or a plant-based ground meat substitute. For a vegan version, use vegetable broth instead of beef broth and omit any dairy toppings like sour cream or cheese.
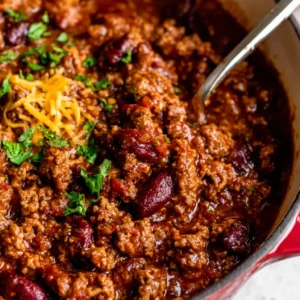
BEST CHILI EVER!
Equipment
- Large pot or Dutch oven
- Cutting board
- Chef’s knife
- Measuring spoons
- Measuring cups
- Can opener
- Ladle
- Wooden spoon or spatula
Ingredients
- 1.5-2 pounds ground beef
- 1 large onion, diced
- 2 bell peppers any color
- 2-3 cloves garlic, minced
- 2-3 tablespoons chili powder
- 1 tablespoon cumin
- 1 teaspoon smoked paprika
- ½ teaspoon oregano
- ¼ teaspoon cayenne pepper optional
- Salt and pepper to taste
- 1 cup beef broth optional, for desired consistency
- Shredded cheddar cheese, for topping
- Sour cream, for topping
- Chopped onions, for topping
- Cilantro, for topping
- Avocado, for topping
Instructions
- Dice the onion, bell peppers, and mince the garlic.
- In a large pot or Dutch oven, brown the ground beef over medium-high heat. Break it up with a spoon as it cooks. Drain off any excess grease.
- Add the diced onion and bell peppers to the pot with the browned beef. Cook over medium heat until the onions are translucent and the peppers are slightly softened, about 5-7 minutes, stirring frequently.
- Add the minced garlic, chili powder, cumin, smoked paprika, oregano, cayenne pepper (if using), salt, and pepper. Cook for another minute or two, until the spices are fragrant.
- Stir in the crushed tomatoes, tomato sauce, and diced tomatoes and green chilies. Stir well to combine.
- Add the drained and rinsed kidney beans and pinto beans.
- Bring the chili to a simmer, then reduce the heat to low, cover, and let it simmer for at least 1 hour, or up to 3 hours. Stir occasionally to prevent sticking.
- After simmering, taste the chili and adjust the seasonings as needed. Add more chili powder for more flavor, cayenne pepper for more heat, salt and pepper to taste, or even a pinch of sugar to balance the acidity of the tomatoes.
- Ladle the chili into bowls and top with your favorite toppings, such as shredded cheese, sour cream, chopped onions, cilantro, and avocado. Serve with cornbread, crackers, or tortilla chips.
